The xTool M1 is such an amazing machine because not only can you use it for laser engraving and cutting but you can also use it just like a Brother ScanNCut or Cricut machine to cut stickers, vinyl, card stock etc. So this is a great machine to have if you are also into fabric and paper craft.
So let’s make some stickers using our fabulous xTool M1
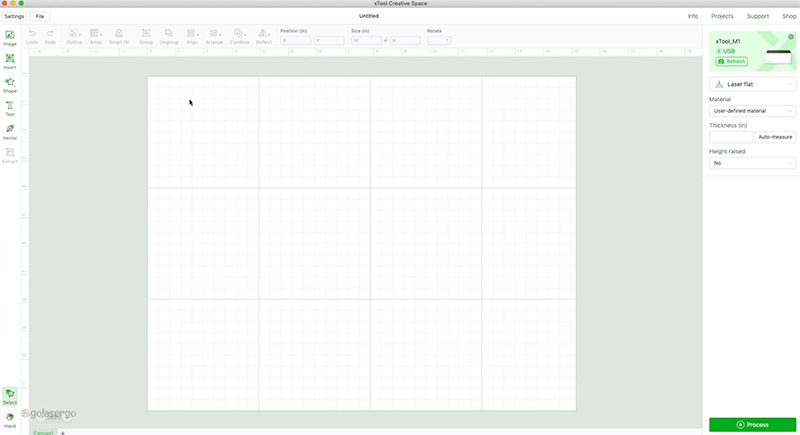
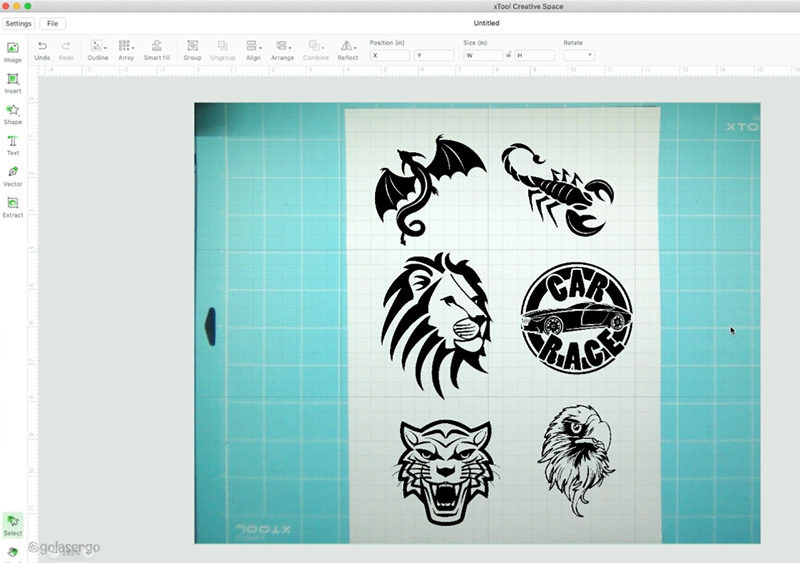
xTool have their own software called Creative Space and you can see what it looks like in the image below.
You can download the software over on the xTool website. Here’s the link if you need it – Download Creative Space
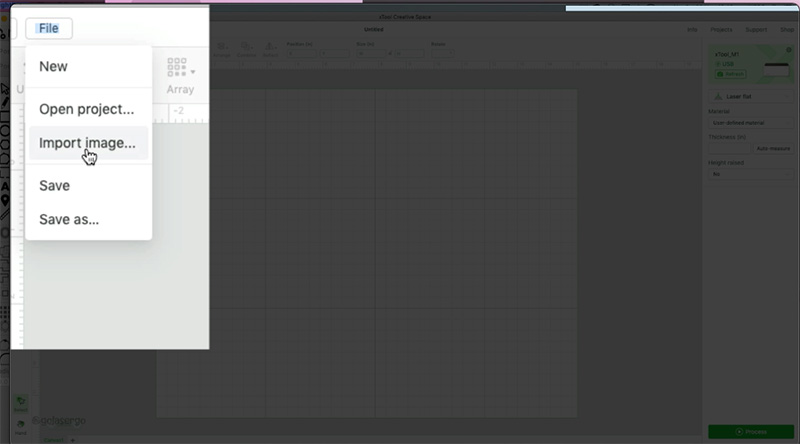
I’m going to start by importing an image that I want to use for my stickers. To do that go up to File and select Import Image.
Now I’m going to bring in a selection of images from my computer, and these are PNG images.
Unfortunately, I do have to bring each image in, one at a time. (Maybe at some point, they will have an option to bring in more in one go but for now we have to select just the one.)
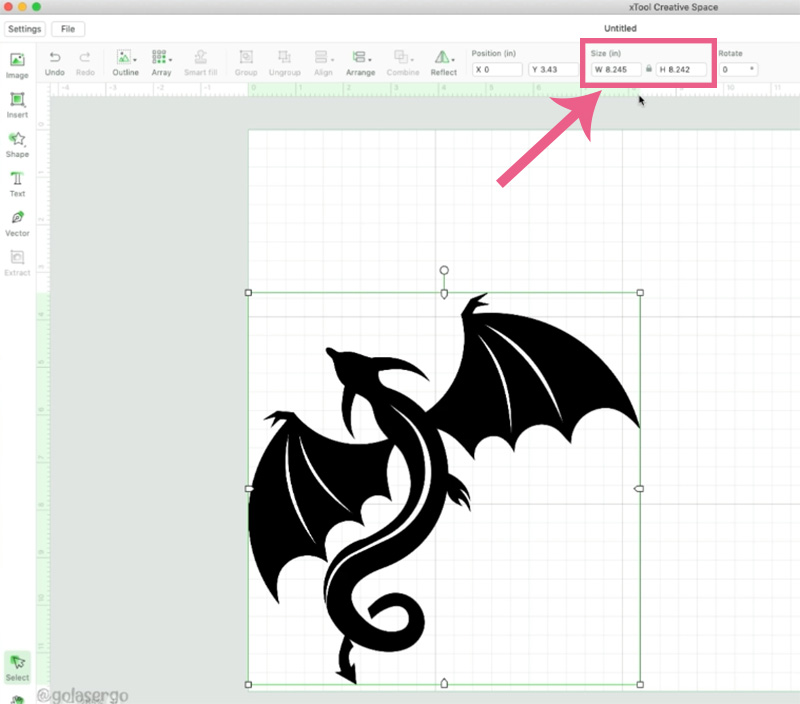
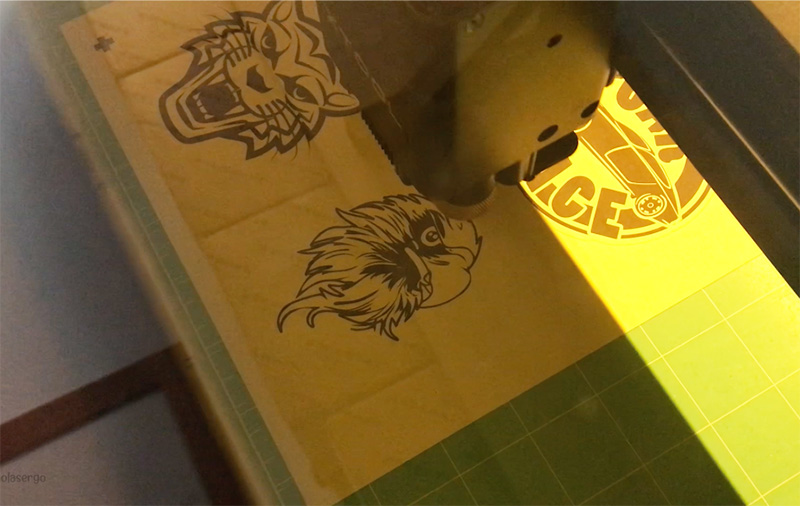
As you can see in the image below, this is way too large for a sticker so I need to adjust the image. You can do this by either dragging the image from the corner or, if you know what size you want your image to be you can go up to the menu bar and key in the width and height.
My first sticker image is as the size I want and is looking good.

Now, all you need to do is repeat the same process with any other images you might have. So back up to File – Import Image and bring in the next image. Keep doing this until you have all your images in Creative Space.
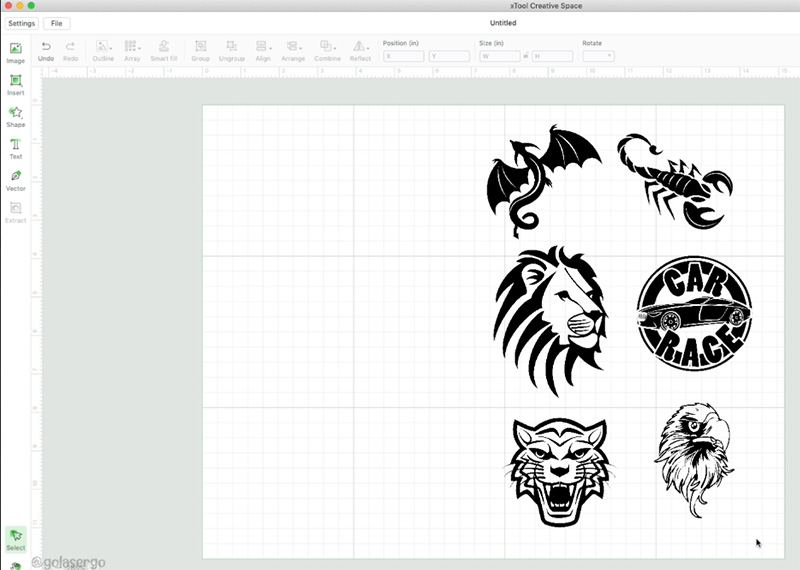
The images I am using are from creative Fabrica I think they work really well for masculine type projects.
***SOURCE FOR THE STICKER FILES***
These stickers came from four different packs. These are affiliate links so we do receive a small commission if you do purchase, at no extra cost to you.
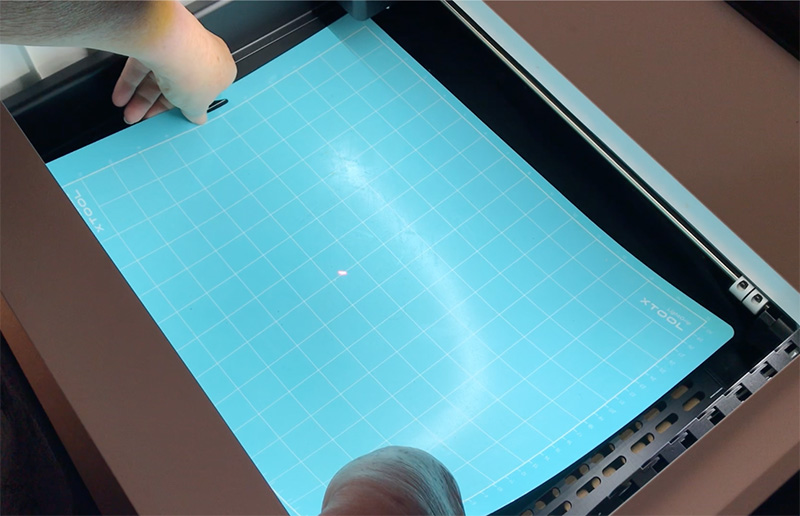
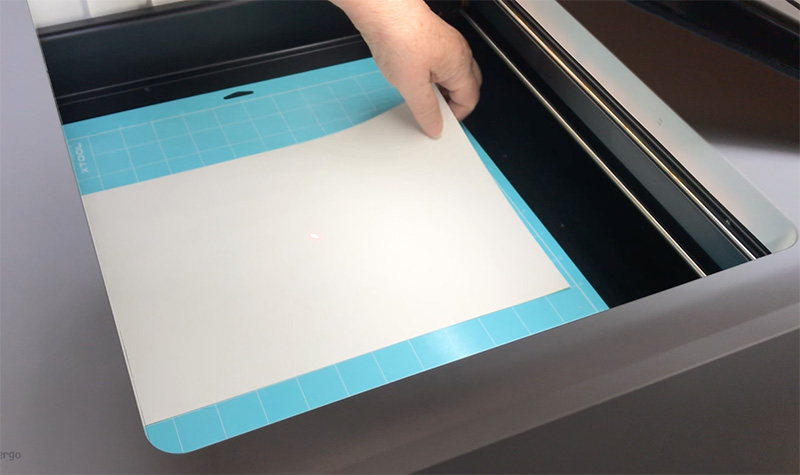
Now that I have them all imported and showing on the screen the next thing I’m going to do is place my mat into my machine.
Remove the protective covering from the mat and just place it into the base of the machine.
Give it a good press down onto the base. The mat has an an adhesive backing so it will stick nicely to the base of the machine.
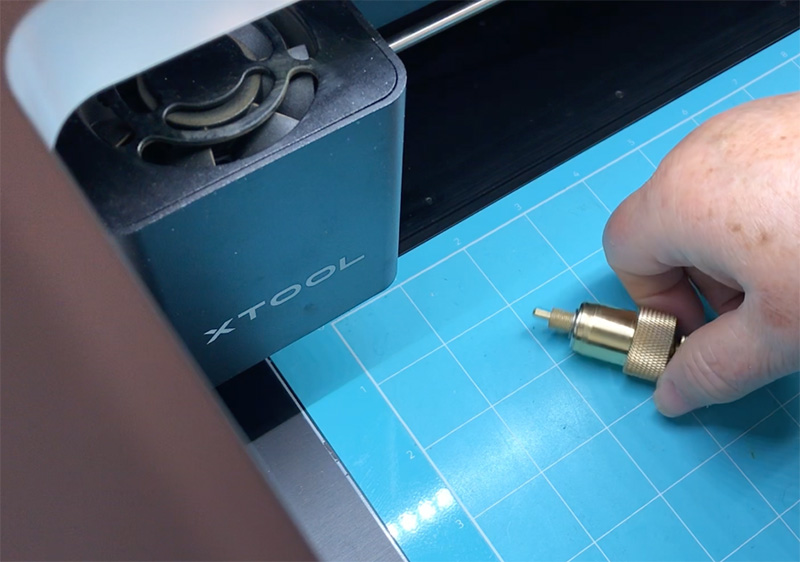
Insert the blade holder into the machine. We are going to be doing a blade cut so we won’t be using the laser function. (Watch the video above to see how this is done.)
Put the sticker paper on the mat.
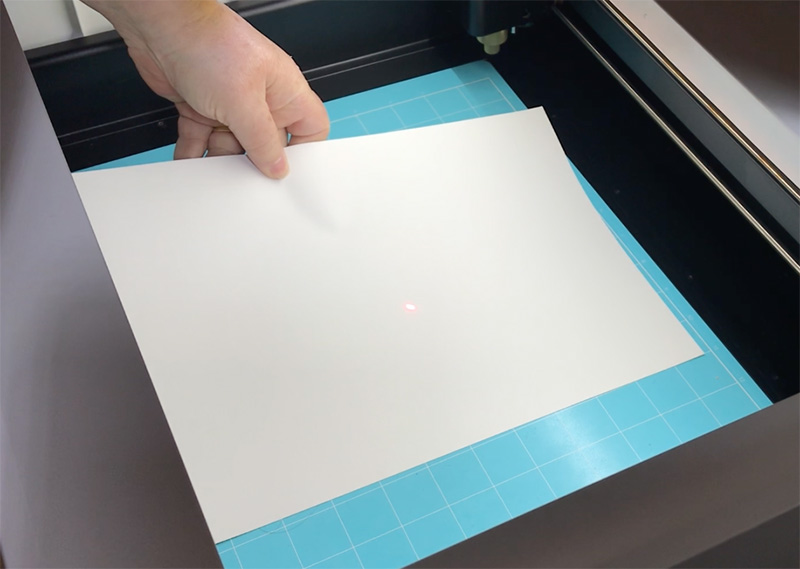
When I close the lid of the machine, it takes an image of the white sticker paper sitting on the mat. You can see how that looks back in the software.

I can now move my images over the paper on the screen so that everything lines up.
At this point, you can also use the alignment tools to align everything nicely. Watch the video above to see how we do that.
Now highlight all of the images and come up to the ‘Outline’ Button’ option. I left the outline at the default setting but you can drag the slider to suit.
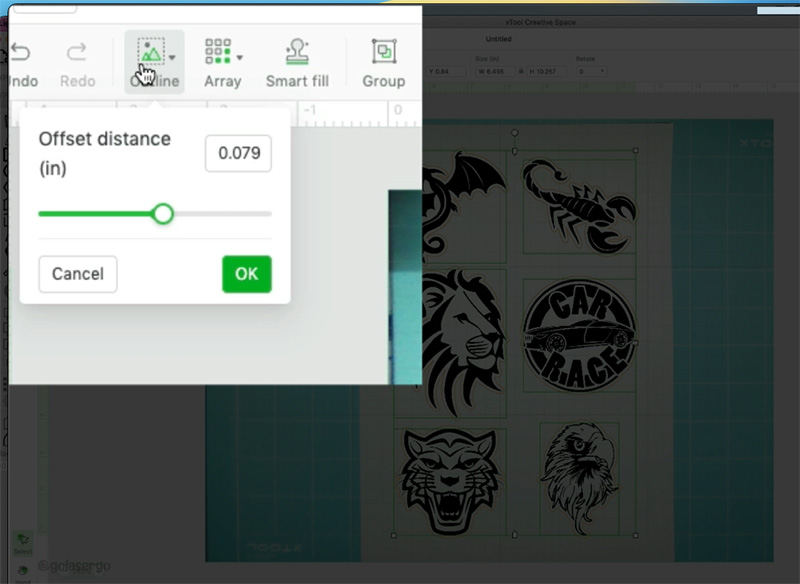
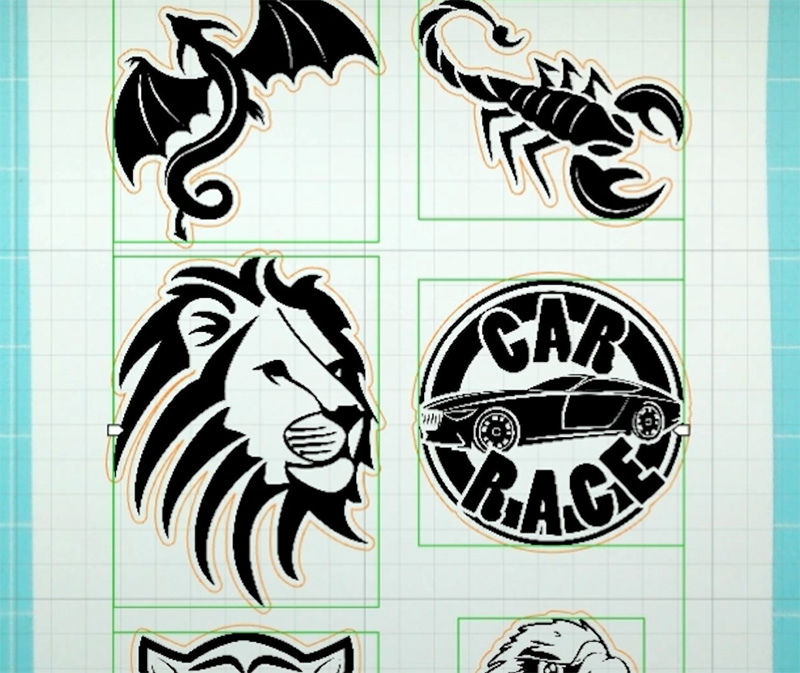
Press ‘OK’ and you can see that there is now an outline around each of the images.
In hindsight I should have made it bigger and I wouldn’t have ended up with all of the indentations around the lions mane. So just play with the settings to get the look that you want around your images.
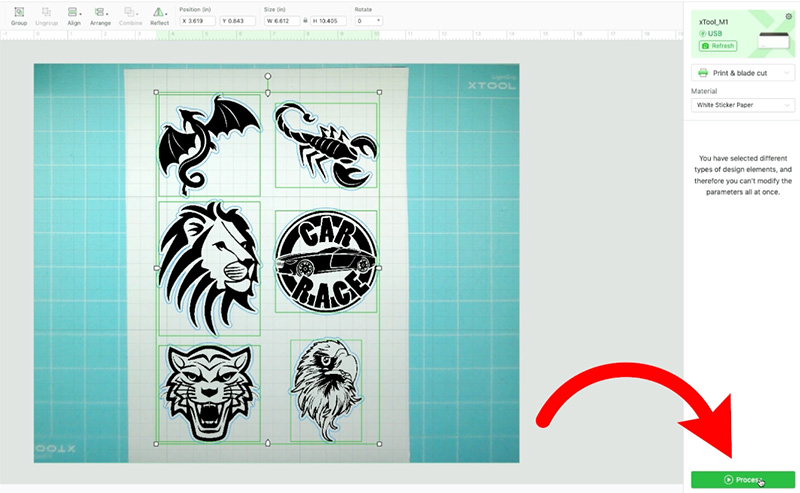
Once you are happy with how your outline looks, come over to the menu options on the right hand side of the screen and select the drop-down.
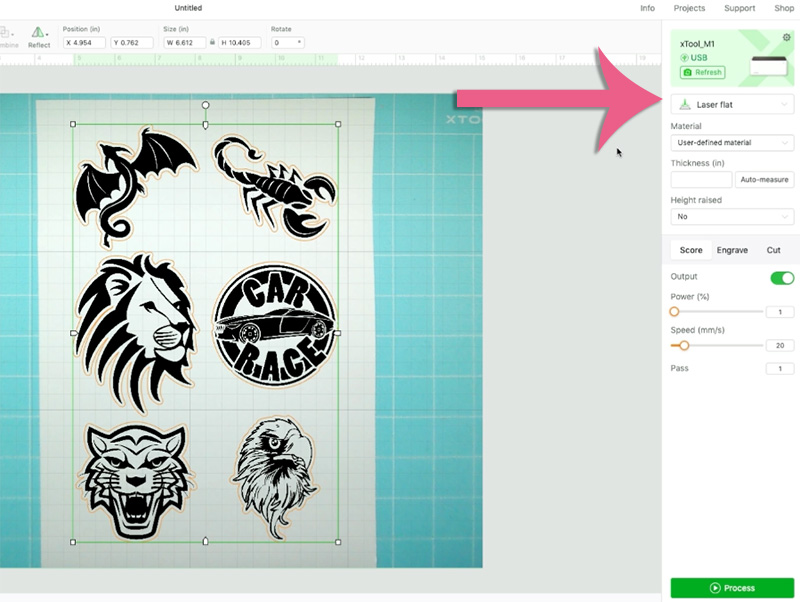
Select Print & Blade cut.
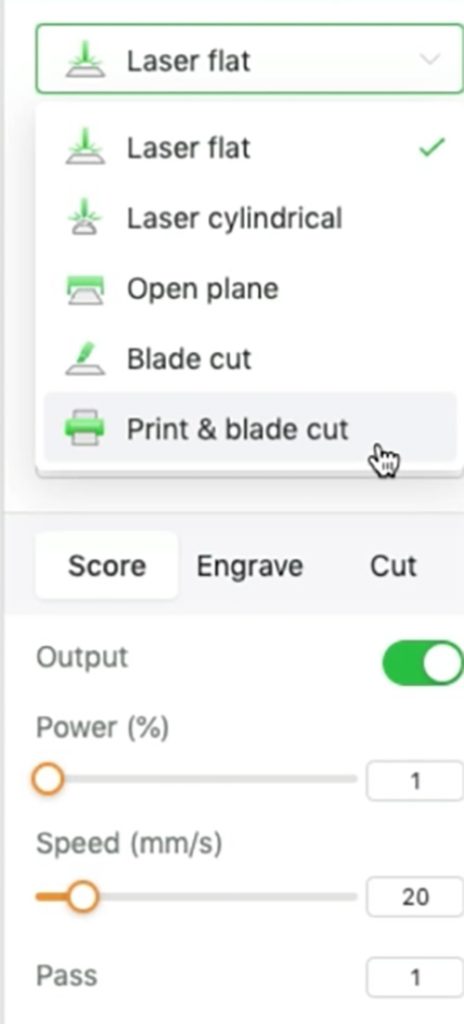
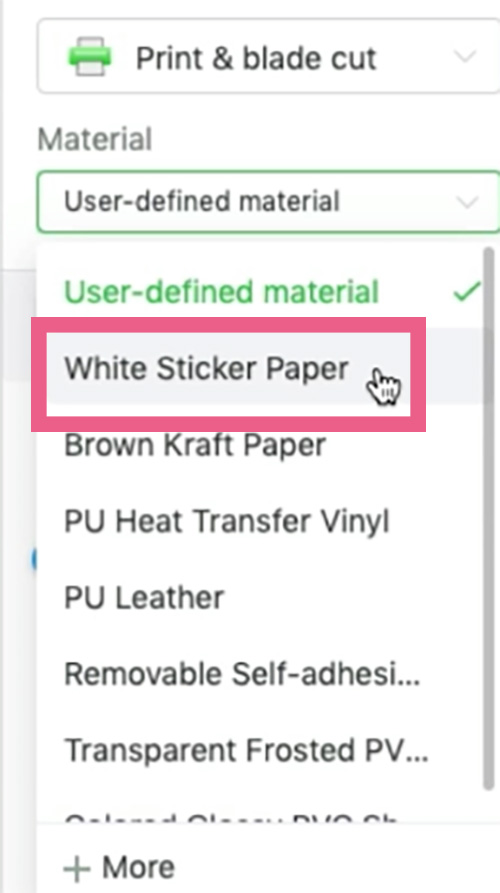
Under that in the Material section select White Sticker Paper.
Now everything is set so we press the Process button.
On the next screen it says ‘Use a printer to print the pattern on a material’.
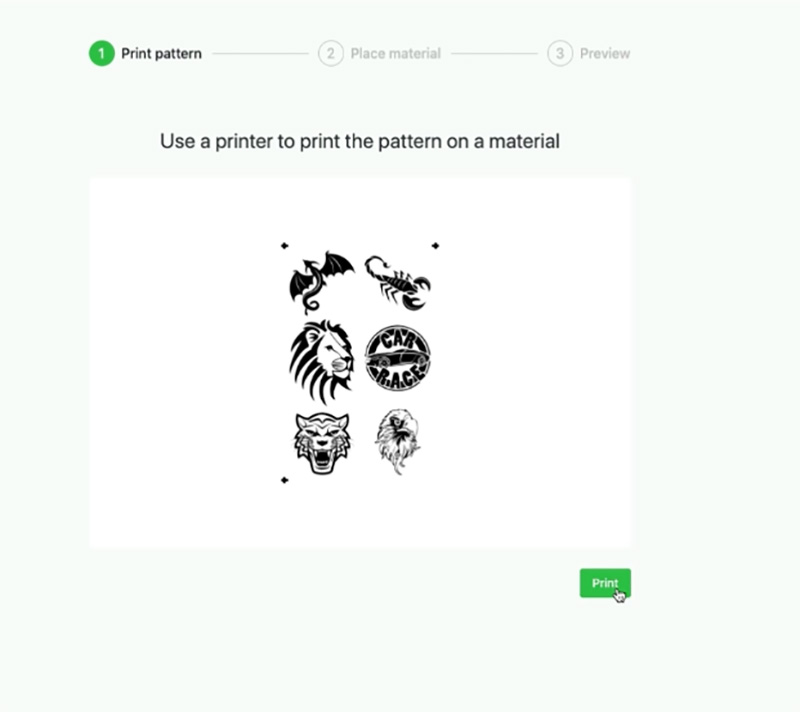
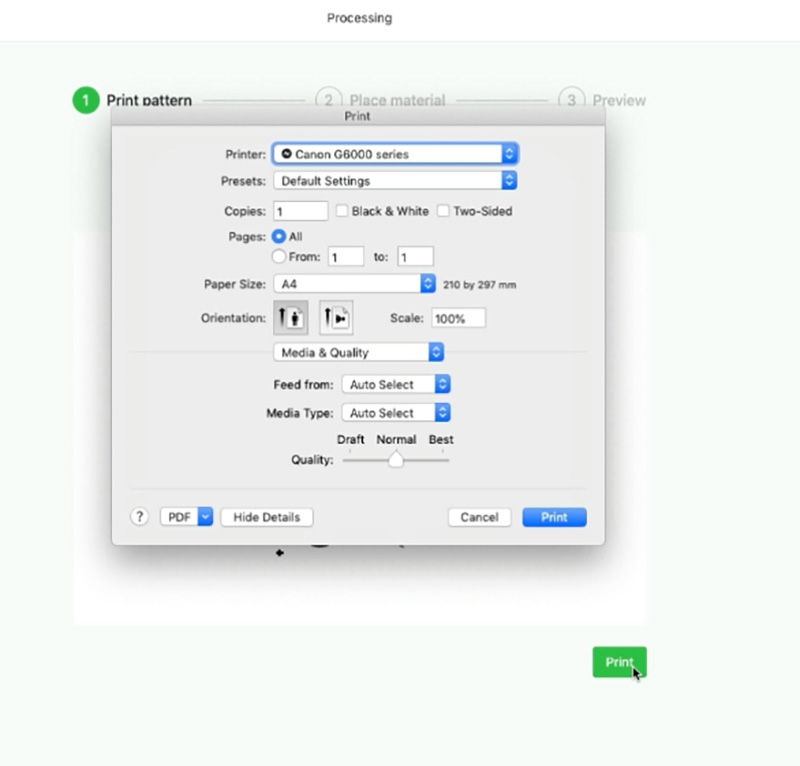
To print the pattern on a material (in this case sticker paper) we click on the Print button and as you can see in the image below, it is bringing up the print screen for my Mac. If you have a Windows computer, you may see something slightly different. But basically it is telling us that we need to print the sticker images onto the sticker paper.
NOTE: Before I go selecting any of my printer settings I’m going to take my paper out of the laser machine and put it into the rear tray of my printer.
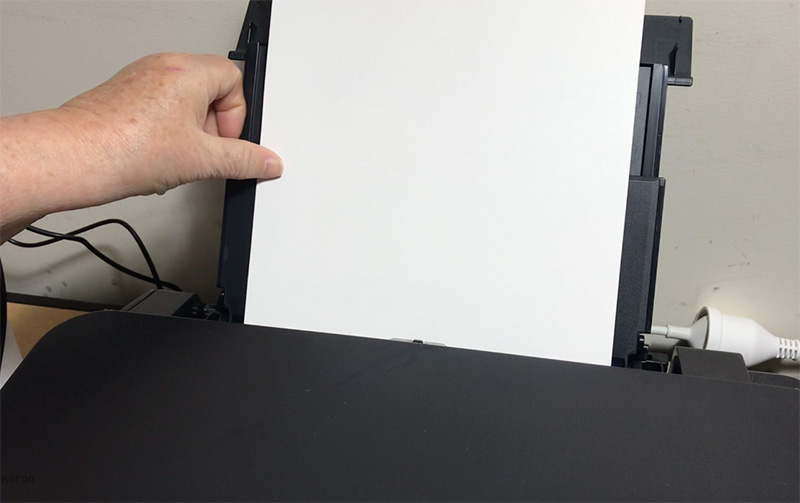
Now I’m going to make my selections in my printer. You need to select the options to suit your printer but for mine I chose.
- Feed from: Rear Tray
- Media Type: Photo
- Quality: Best
Then press PRINT.

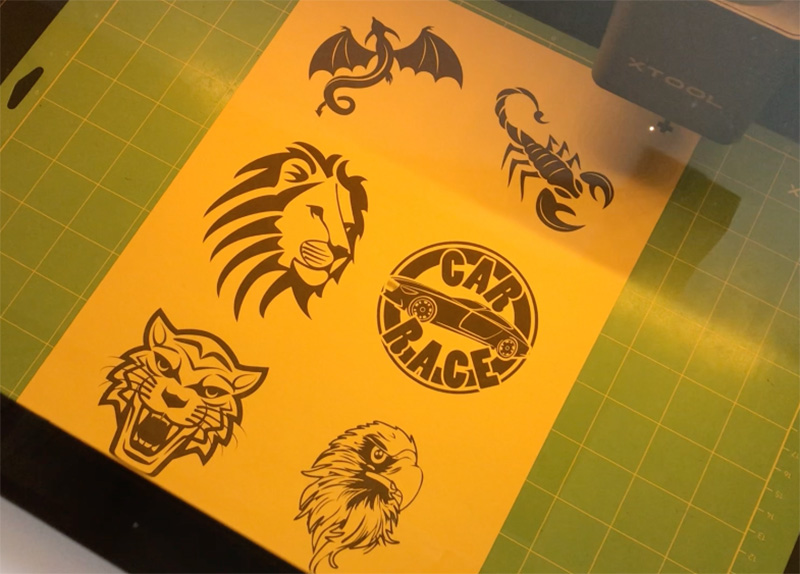
The sticker paper feeds through the printer, and once printed, you can see the registration marks on the paper. There will be one on each of three corners and that’s so that the laser machine can recognise where the images are.
Take the sticker paper and place it back into the xTool M1.
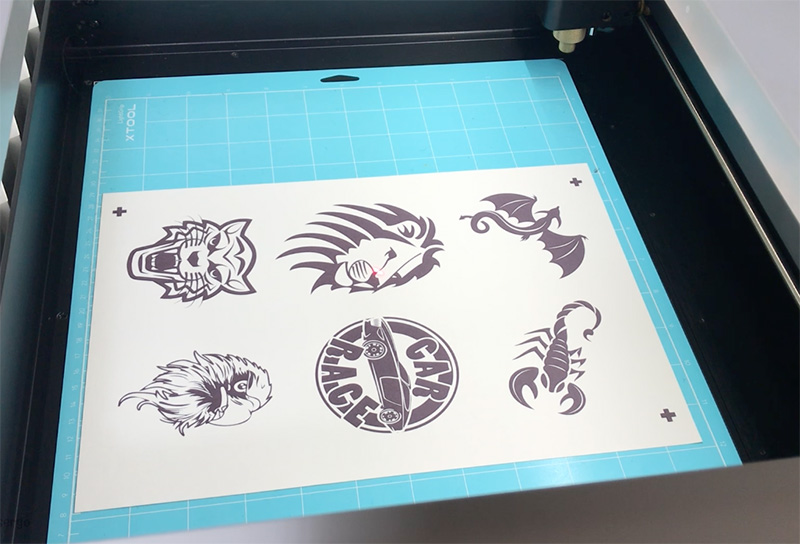
Make sure to press it down firmly this time as we don’t want it to move while the images are being cut out.
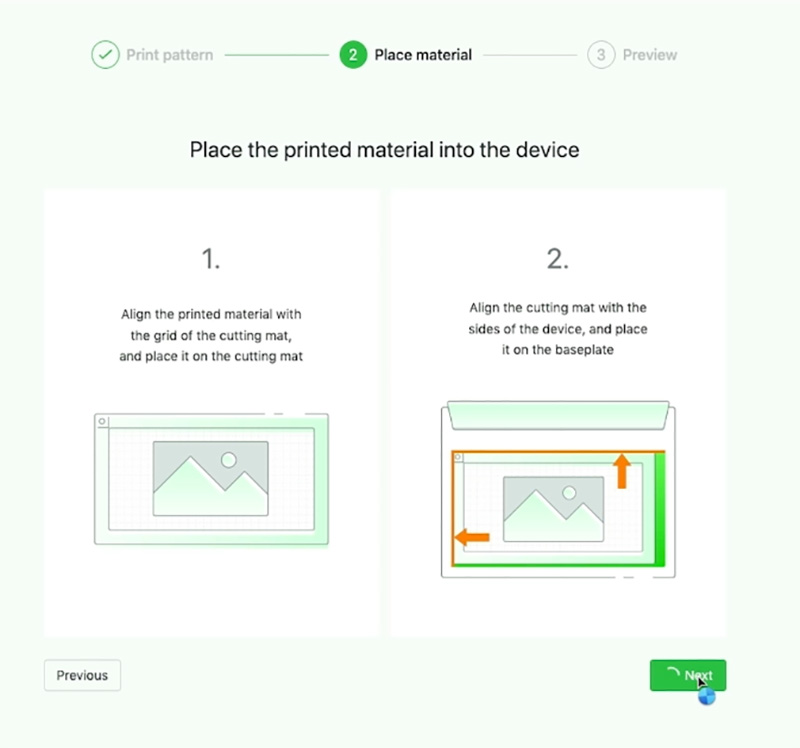
Close the lid and press next and back in the software you will see the following screen.
Click NEXT to continue.
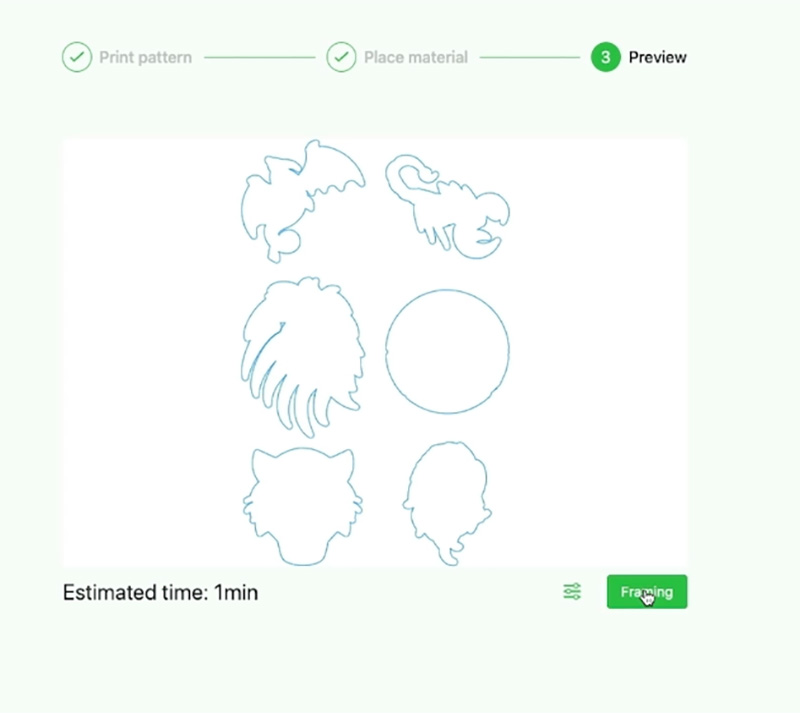
Now the outline of the images will appear on the screen.
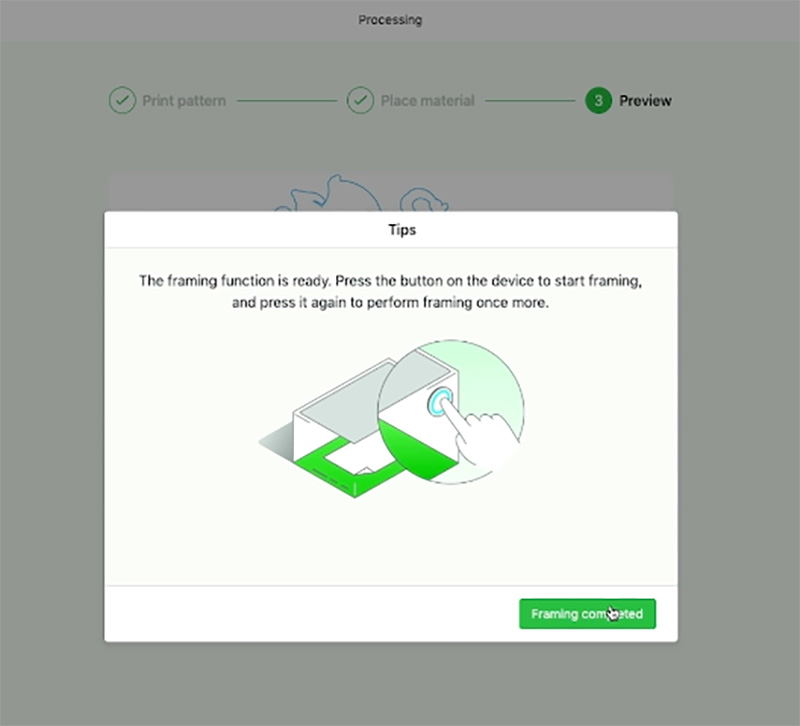
All we need to do now is click the Framing button and then click the button on the front of the M1 to start the machine running.
The laser head will move around and just outline where all the images are. (Watch the video above to see this in action.)
This gives you the opportunity to and make sure everything’s in the right place and is nicely placed on the sticker paper. It’s at this point that you can stop and make changes if you need to.
Once you are happy that everything’s perfect press Framing Completed.
Now we can just select Start in the software, and we also need to press the start button on the front of the machine.
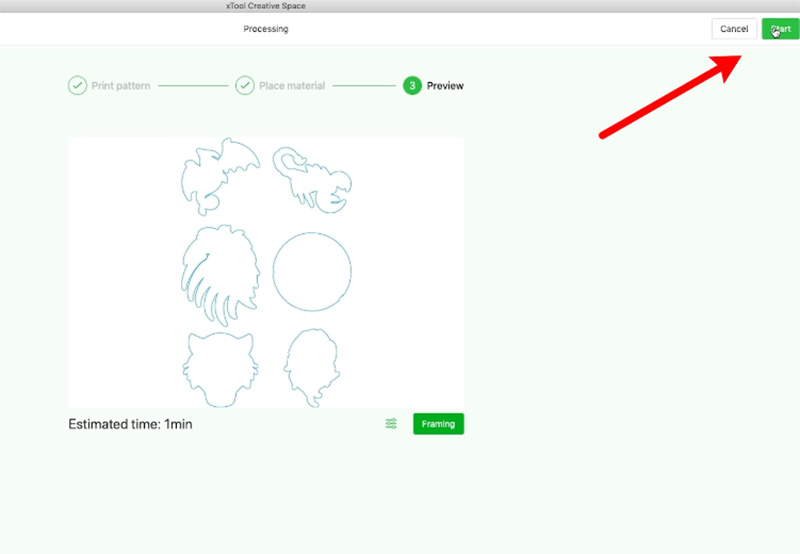
The laser head will move across and start cutting around our images.
As I said earlier, I wish I had left a little bit more of the outline spacing around the lion’s head but otherwise I’m very happy with the result.
Now that the images have been cut using the kiss cut, we just remove the sheet from the machine.
When you are ready to use the stickers simply peel them off the sticker sheet.

You can use them in your projects on cards or in your scrapbooking or whatever but they really really are lovely. I’m very happy with how they turned out, and we have gone on to create some great Christmas stickers as well.
I love the versatility of this machine. It does it all, laser engrave, laser cut and blade cut. What a marvellous addition to the craft room.
Leave a Reply