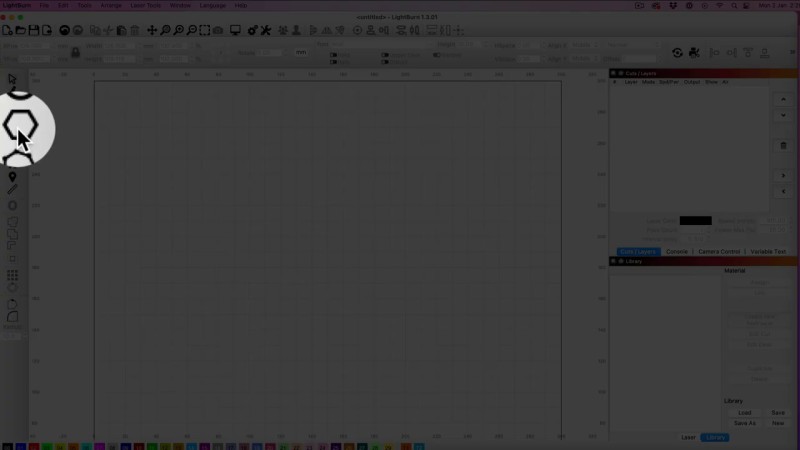
In order to create polygons in Lightburn start by clicking on the Polygon Option in the sidebar.
Watch the Video or scroll down for written instructions
Draw a Polygon in Lightburn
As you click on your screen and drag, you’ll see a shape forming there.
Now the shape will be distorted at this stage, so if you want a perfect polygon shape make sure you press the shift key on your keyboard while you’re dragging on the screen and this will create a perfect shape.
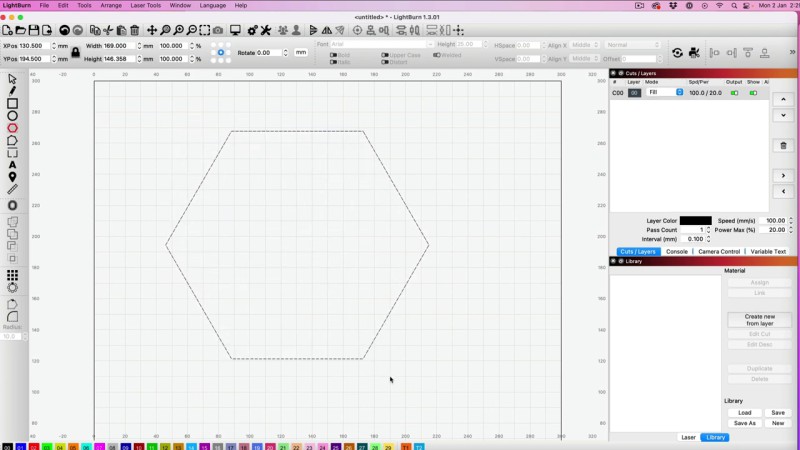
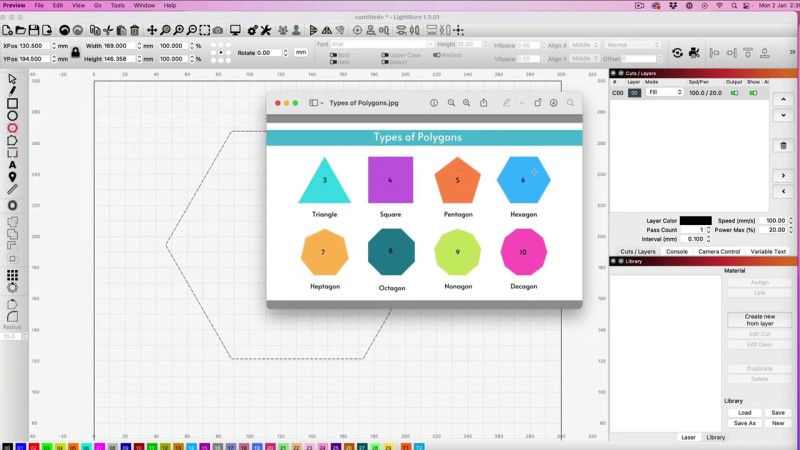
Now this is a hexagon, as you can see from my nice little chart here. It’s got six sides but you can make any of these shapes.
So let’s get on and see how it’s done.
Come up to Window, click on it and select the Shape Properties option.
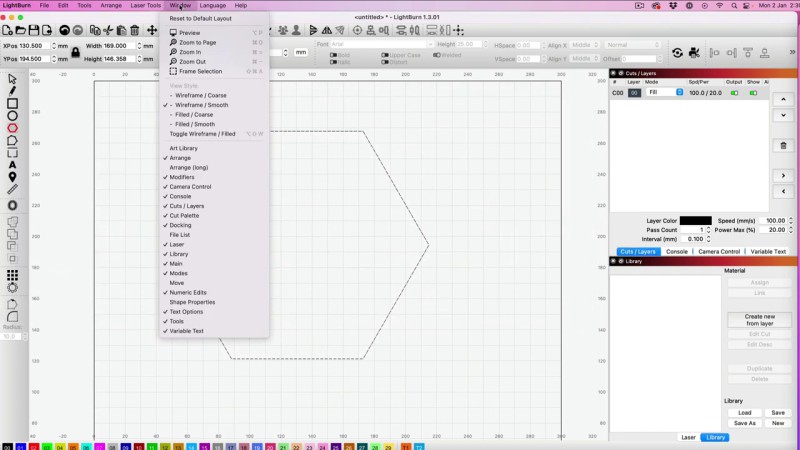
Once you have selected the option the ‘Shape Properties’ will now appear as a tab over on the Cut Layers Panel on the left hand menu bar.
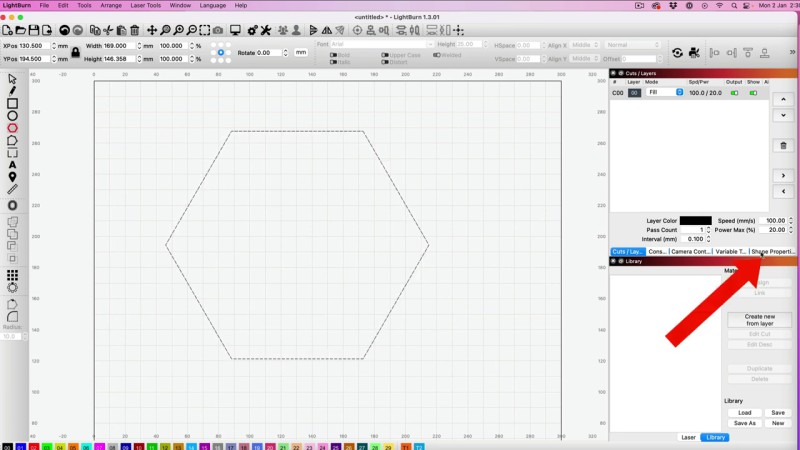
When you click on it you’ll see the Sides option.
We already have a six sided design on the screen for a hexagon and we can now change this.
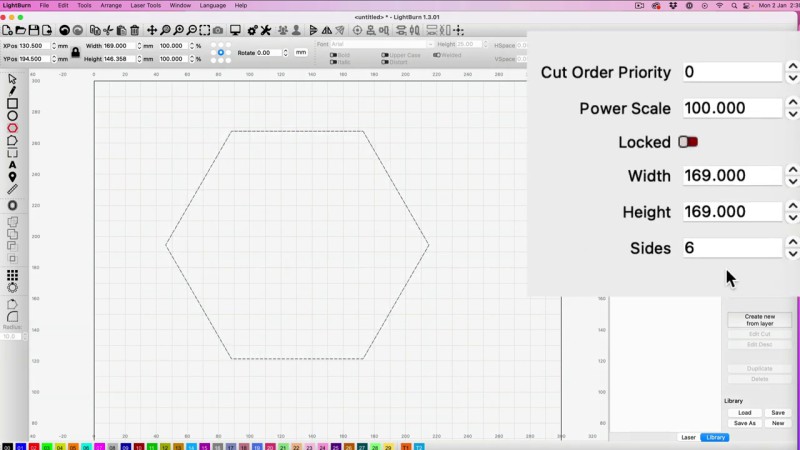
When I move down the shape changes.
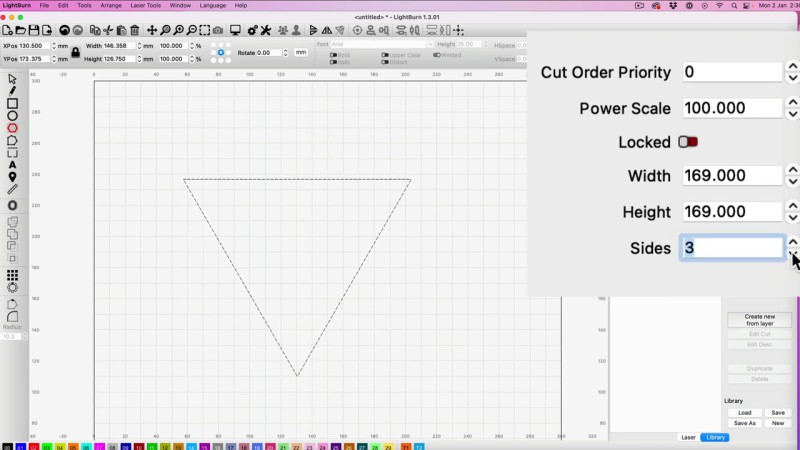
We start with a triangle shape and a square. As we keep gong we get a pentagon and then our hexagon again and then a heptagon, octagon, nanagon and a decagon which is 10 sides.
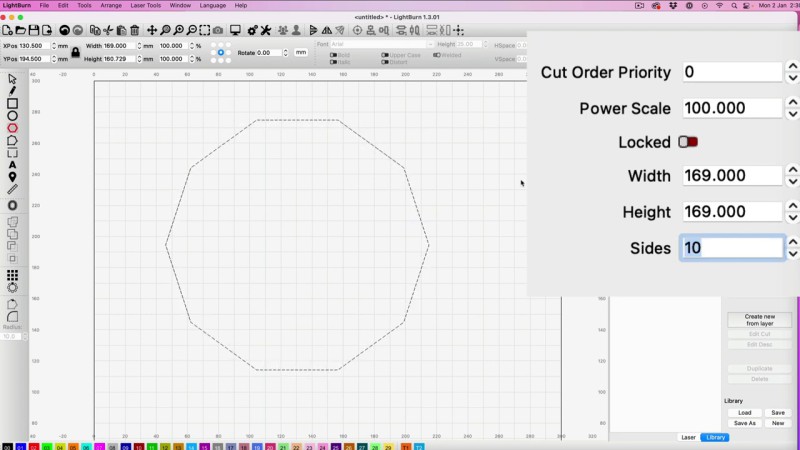
But you can keep moving the numbers up and you can go all the way up to 40.
So you can get 40 sides on your shape which looks almost like a circle but as you can see it’s not quite perfect.

So there you go it’s as simple as that that’s how you create polygons in Lightburn.
Leave a Reply