In this tutorial I am going to show you how to create inverted Corners in Lightburn.
Watch the Video or scroll down for written instructions
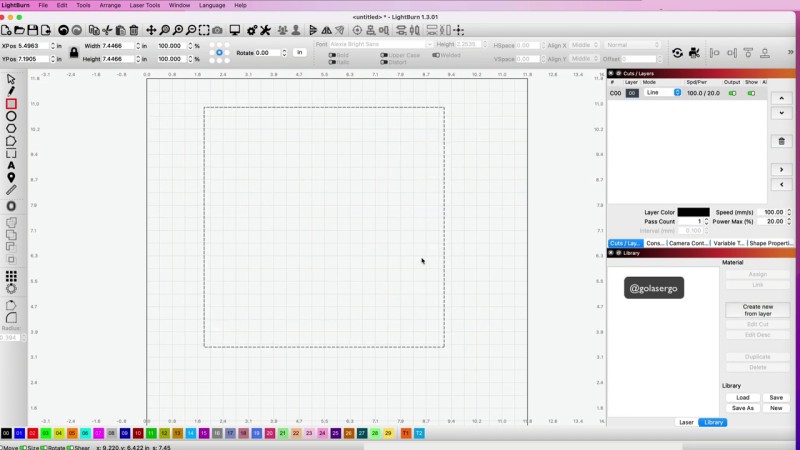
The first thing we need to do is create our shape, so I’m going to create a square. Remember to hold down the shift key to create a perfect square.
Come over to Shape Properties in the right hand menu.
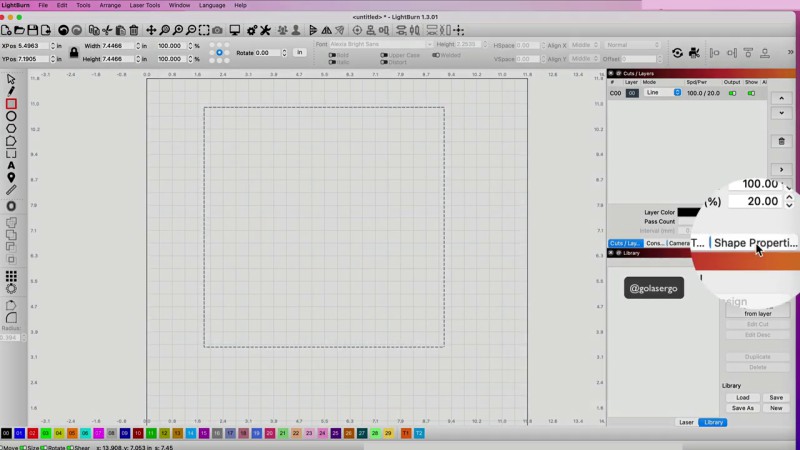
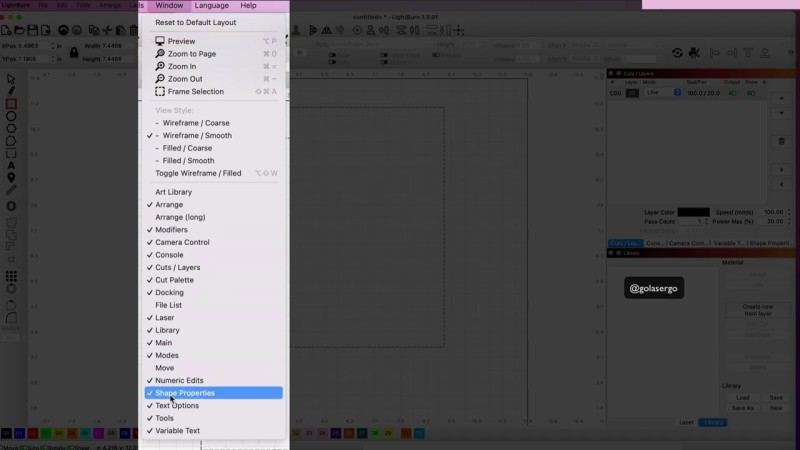
Now if you don’t see the Shape Properties option here
just come up to Window and scroll down until you see Shape Properties and just select it from there.
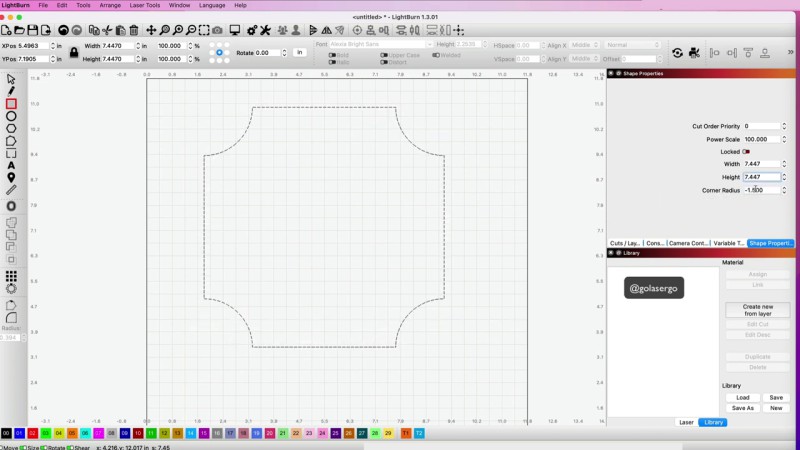
Now over in the Shape Properties we want to click the option Corner Radius
and all we need to do is click on the down arrow here

The shape changes as you do this.
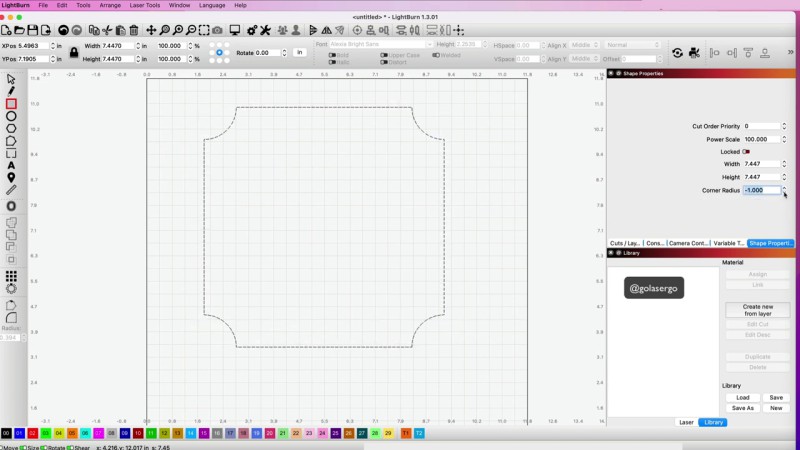
If you click down you’ll notice that you get some Inverted Corners. You can keep doing that until you get the shape you like.

You can also type in type over the the amount so I’m going to put in 1.5 just to get the specific radius that I want for this project.
And that’s all there is to it.
Leave a Reply