There are times when you will have a hidden layer in Lightburn and you want to be able to work with that hidden layer. So this a quick tutorial on how to select hidden layers.
Watch the video below or scroll down for written instructions.
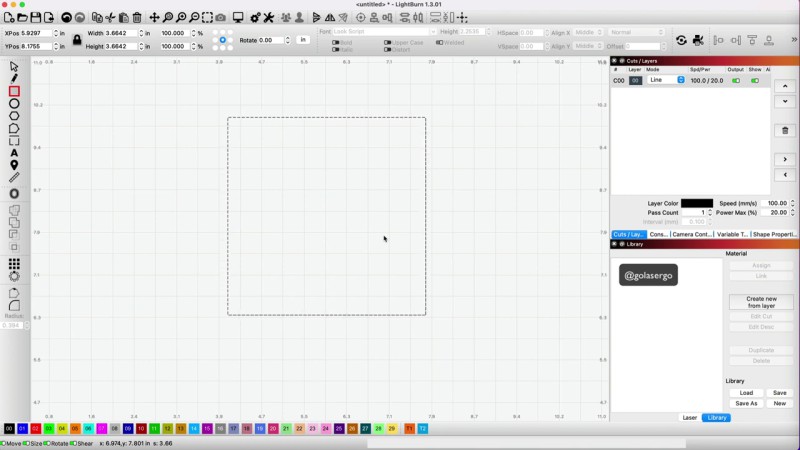
Firstly I need to create some layers to show you how to do this.
So I’m going to start by selecting the Square Option and drawing a square on the screen.
Then I’m going to duplicate it by pressing Command D on a Mac or Ctrl D on a Windows computer.
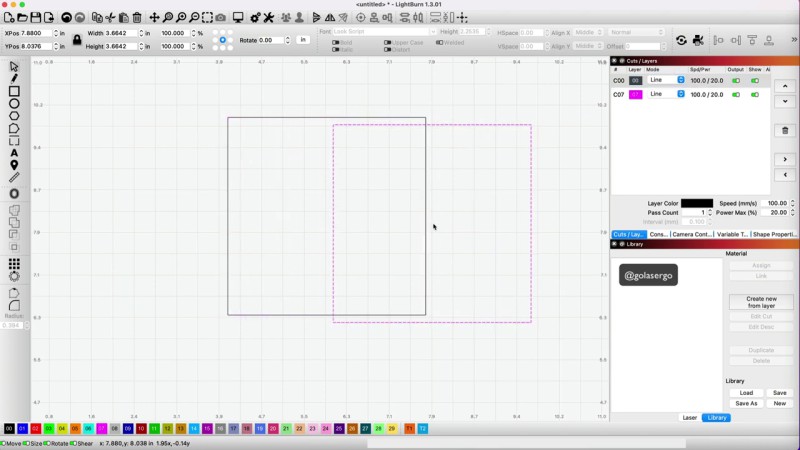
So now I have two squares showing.
They’re both surrounded in black so it’s very hard to distinguish between them.

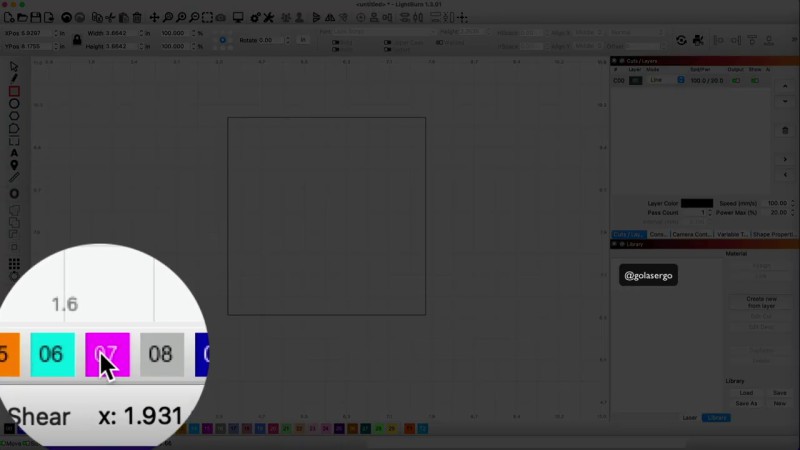
What I’m just going to give the top one a different colour by selecting a colour from the colour bar along the bottom of the screen..
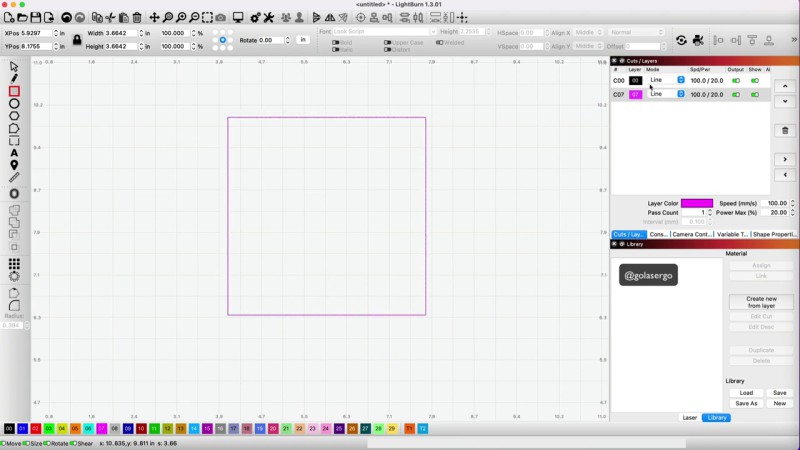
So now the two squares are showing as different colours in the Layers panel.
One is in black and one is in that pinky purple colour.
I want to select the black square so I click on the black layer in the layers panel,
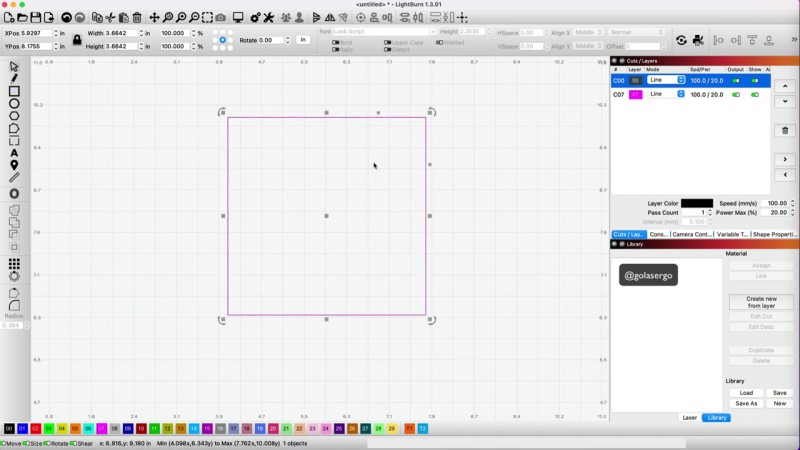
By clicking on the black layer I think I have selected the black square but when I come over to the screen and try to move the black square, only the pink square moves.
How to Select the Hidden Layer
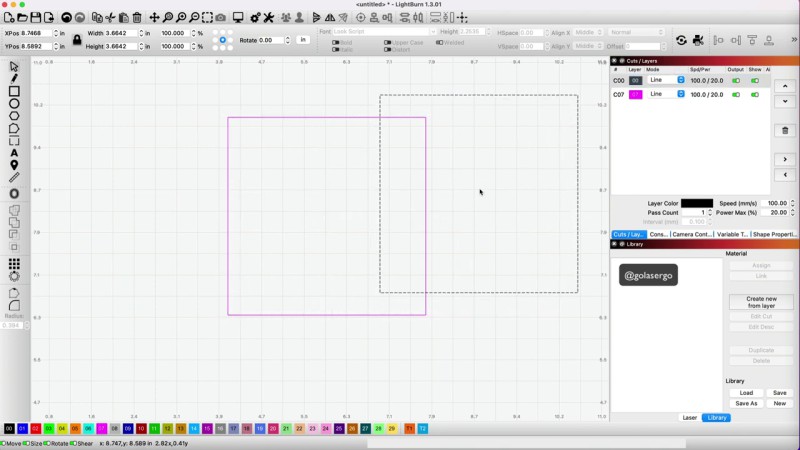
Hmmm, okay, so what do we need to do to select the black square?
Well in order to select that bottom layer what we need to do is hold down the Shift Key on your keyboard and just click on the corresponding layer in the layers panel. In my case this is the black layer.

Now when I click on that black layer and go over to the screen you can see that I can now move the black square.
Selecting those hidden layers in Lightburn is quick and easy.
Leave a Reply