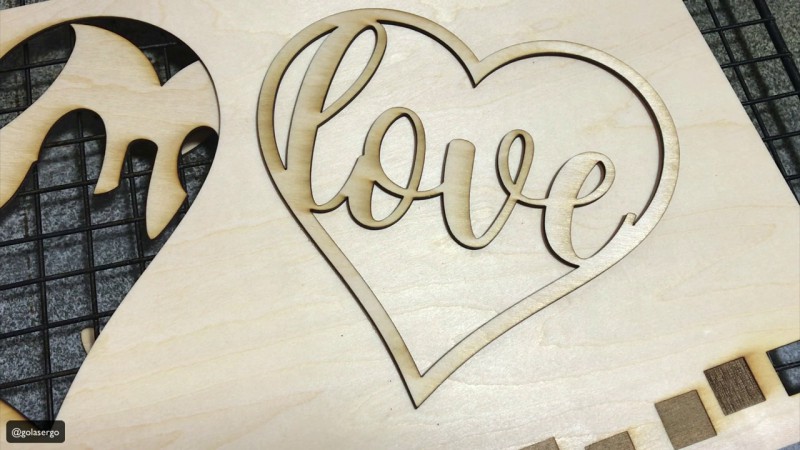
This is a project that we made for Valentines Day, but you can make this for any special occasion. We used a heart and the word love for this project, but you can use any word and SVG file for this project.
You can cut this shape out in wood or you can create a a card using card stock.
We used our Aurero Laser 2 engraving and cutting machine to make this project.
Watch the video below to see how to Weld Text to a Shape
So let’s create this Valentine’s love heart.
Select a Script Font
The first thing we want to do is grab a font.
Now you can use a font that’s already on your computer, but as I am here in I’ll just select a nice, flowing script font.
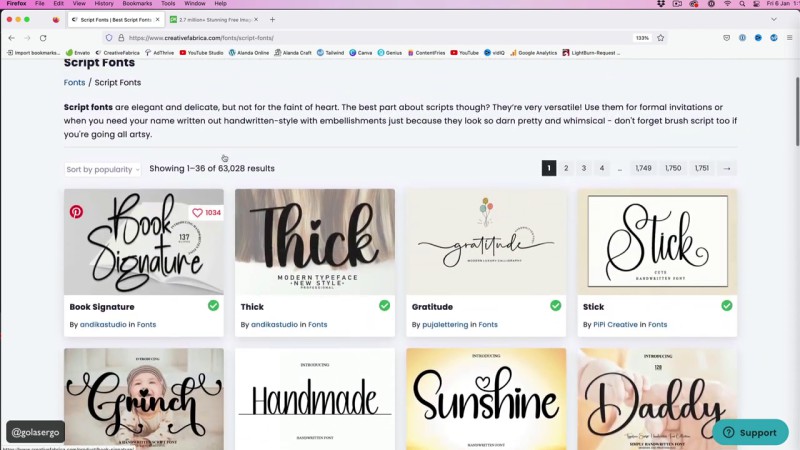
Creative Fabrica is awesome if you’re wanting Commercial Free fonts and graphics for your projects. We use them all the time for our laser projects and also for projects for our ScanNCut, and Cricut machines. I highly recommend them, they’re exceptional value.
As you can see here there are loads to choose from in the script font, in fact there’s 63,000 different results available.
I’m going use the , because I really like this font and it looks good when welded into a shape.

If you are choosing a font from Creative Fabrica just download it to your computer, and once it’s downloaded, you simply install it into your computer font files.
Choose a Shape
For this project, I also want to grab a Heart SVG.
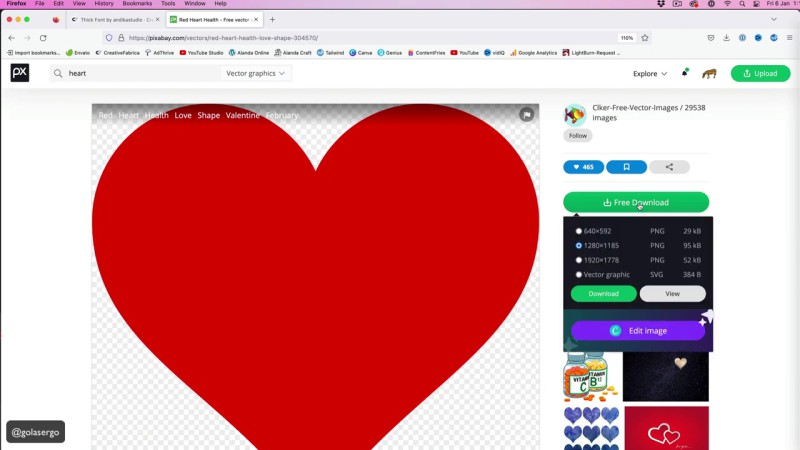
I have decided to go to Pixabay to choose a shape. Pixabay has a great range of free images that will suit a multitude of projects.
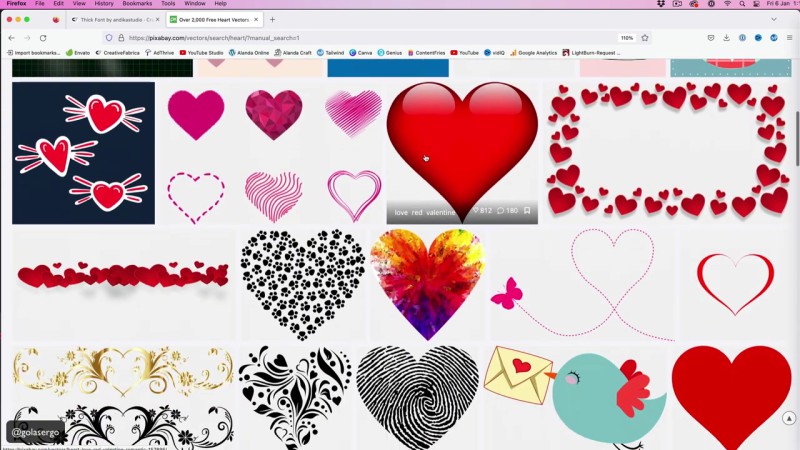
I searched for for a heart, and selected Vector Graphics because I want an SVG file for this project.
So I just scroll through the images and you can see there’s tons of different hearts available, and just to let you know, they are all free.
Okay so I’ve found the Heart I want.
Working with Lightburn Software
Once we have our font and our graphic on our computer, we can go into our Lightburn Software.
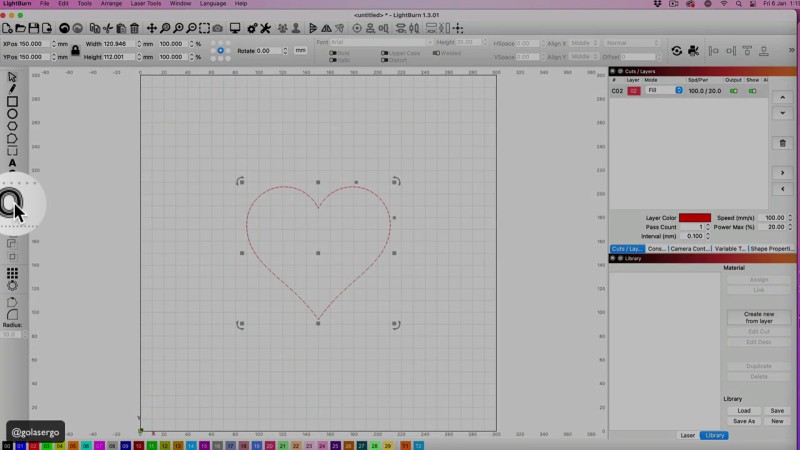
The first thing I’m going to do is bring in the Heart SVG.
- Go up to File and open the file from your computer.
- The shape appears on the grid.

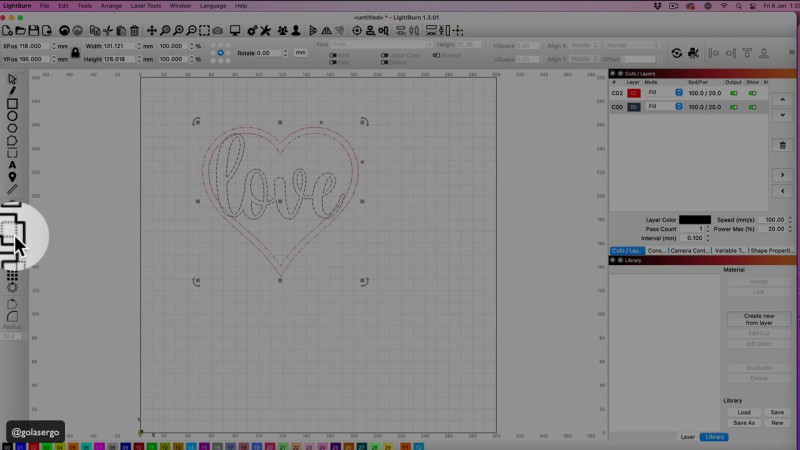
Now I want to create an offset around the heart.
- Select the Offset Option
We want to create a thickness in the Offset Distance box.
You can choose whatever you like in terms of thickness, but I’m just going for 5.08 here.
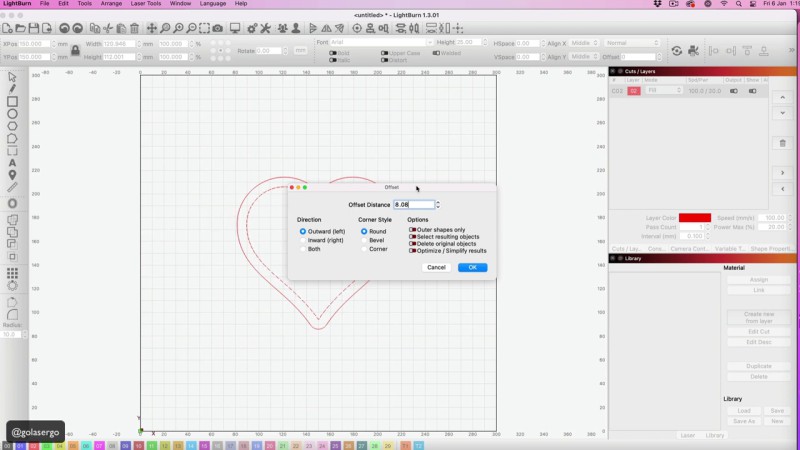
I have also selected Corner as the Corner Style so that I get the nice point at the bottom of the heart as you can see in the picture below.
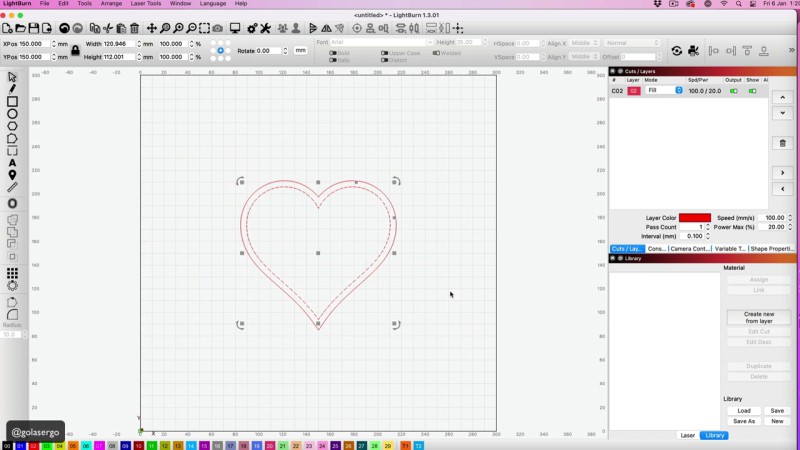
Next, I’m just going to drag from the side with my mouse so that everything is selected and then I select the weld option so that everything stays together.
Writing Your Text and Positioning it Over the Shape
Select the Text Option and write the word that you want for your project. I’m typing the word ‘love’, and I’m doing it in lower case.
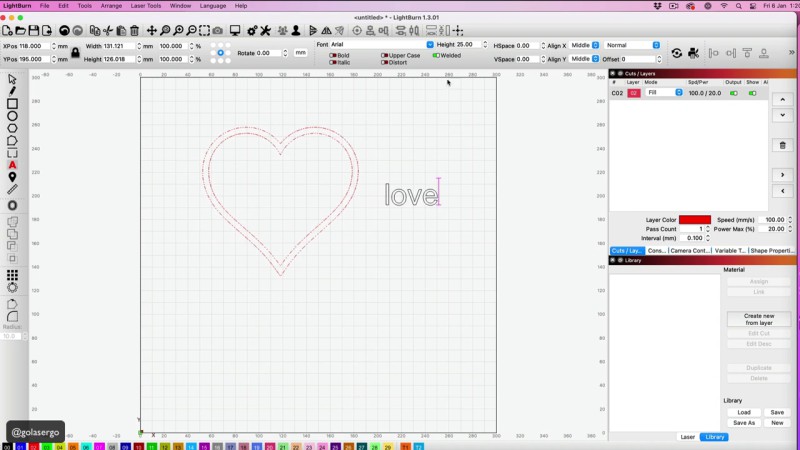
Change the font to the font of your choice. I’m selecting and using the font as it’s a font that I particularly like for these types of projects.
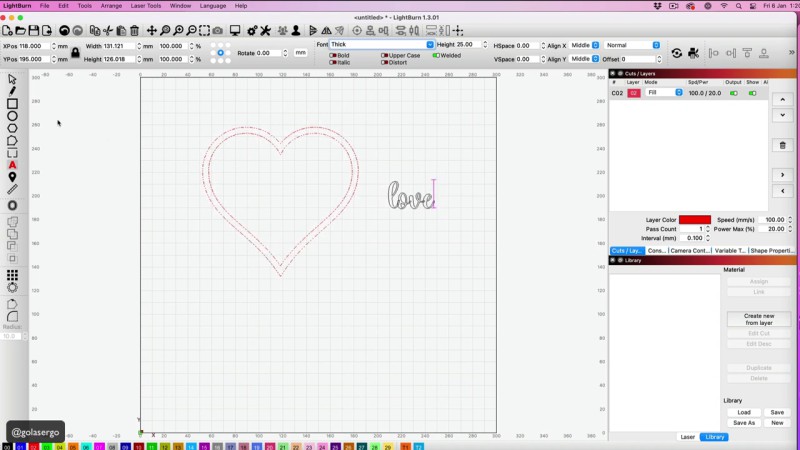
Select the Select Tool to drag out the text to make it bigger, and then drag it over into the heart shape.
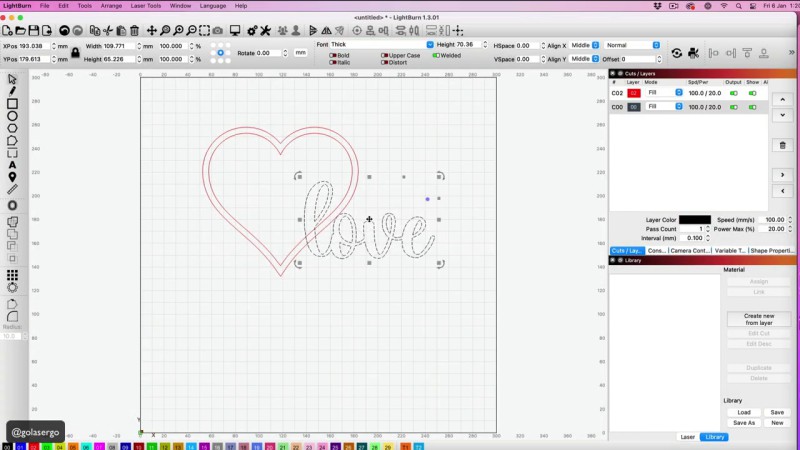
I want it to overlap around the edges. You can see in the picture below that the letters are overlapping the heart. I’m going to stretch the text to make it taller. This font lends itself well to that so that you can stretch it up so that it overlaps the edges.
Now drag your cursor from the side to select everything
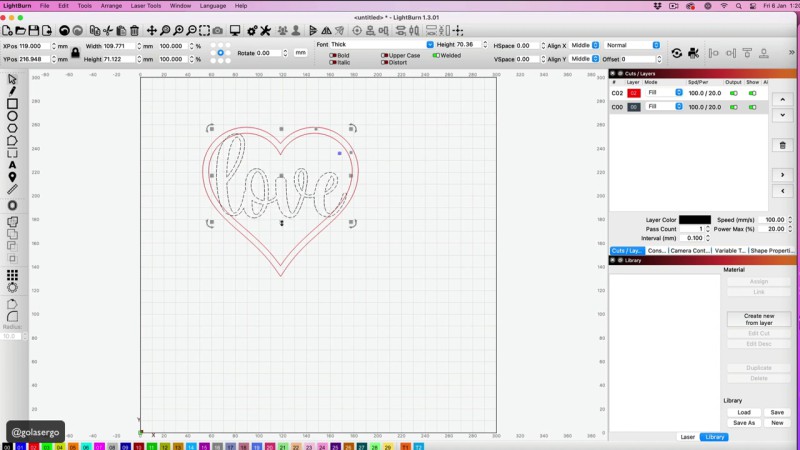
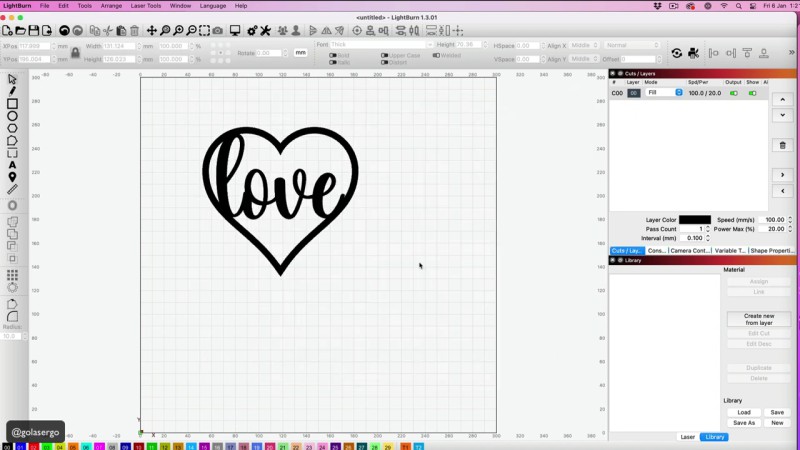
Click on the union option (see below) and it’s done the heart and the text are joined.
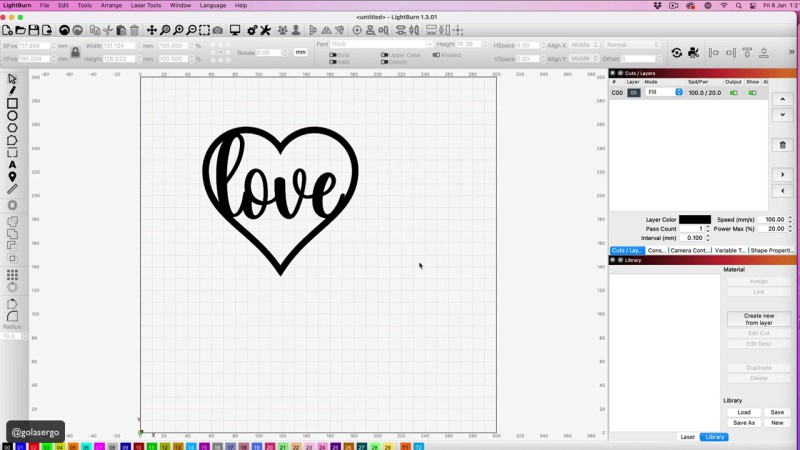
To see how this is going to look select the Fill option on the sidebar.
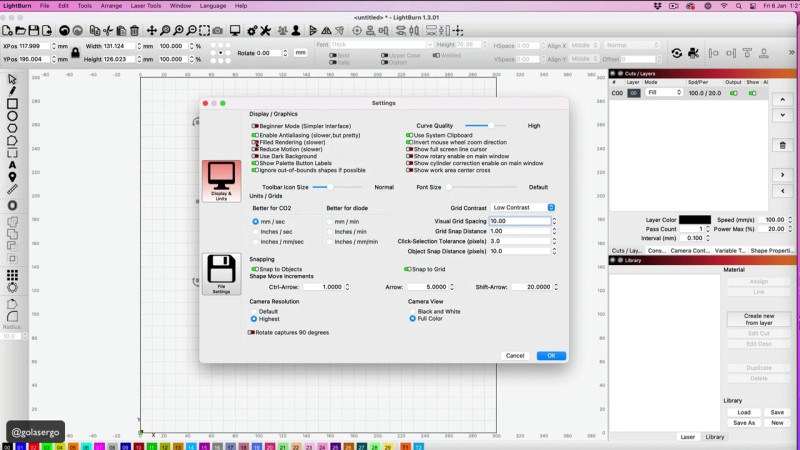
If you come up to Settings in the menu bar, and select Field Rendering you’ll be able to see the image in black and also see exactly how it’s going to look.
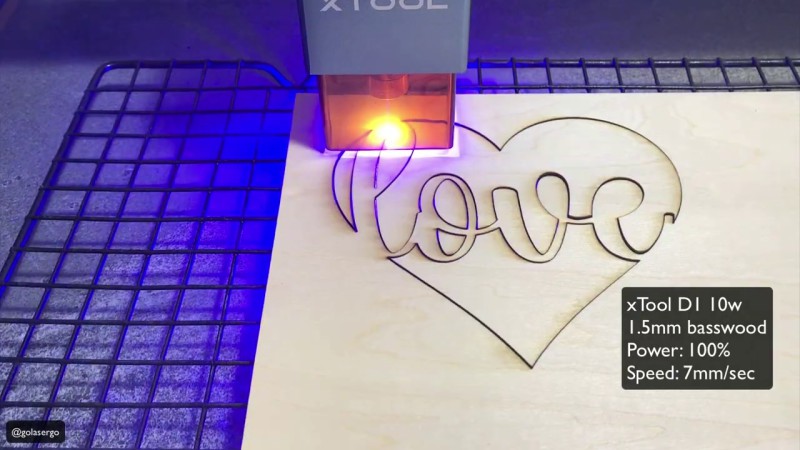
Here you can see the machine cutting out the shape.
To see this in action watch the video at the top of the post.

And that is how you add text to a shape. It’s easy to do and just think of the possibilities when it comes to making gifts for friends and family.
Leave a Reply