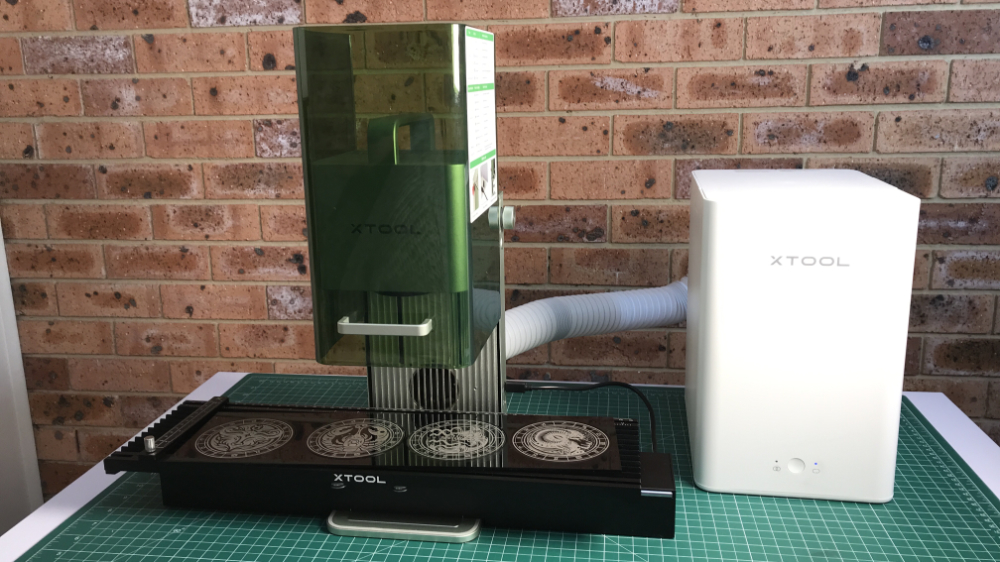
One of our favourite laser engraving machines is the xTool F1 so we are always happy to bring it out and give it a run. So when xTool sent us a pack of materials suited to the slide extension we were quite happy to try them out.

If you have the xTool F1 then the slide extension is a must have in my opinion. It’s a great way of engraving and cutting in bulk and also for working with larger items that don’t fit on the F1’s smaller working surface.
Buying Links
- xTool F1 – Our machine
- xTool F1 Ultra – Deluxe version
- xTool F1 Slide Extension
- xTool F1 Materials – the pack that we received with everything cut to size isn’t available in the xTool store. However, there is an F1 material explore kit available to get you started.
What we got…
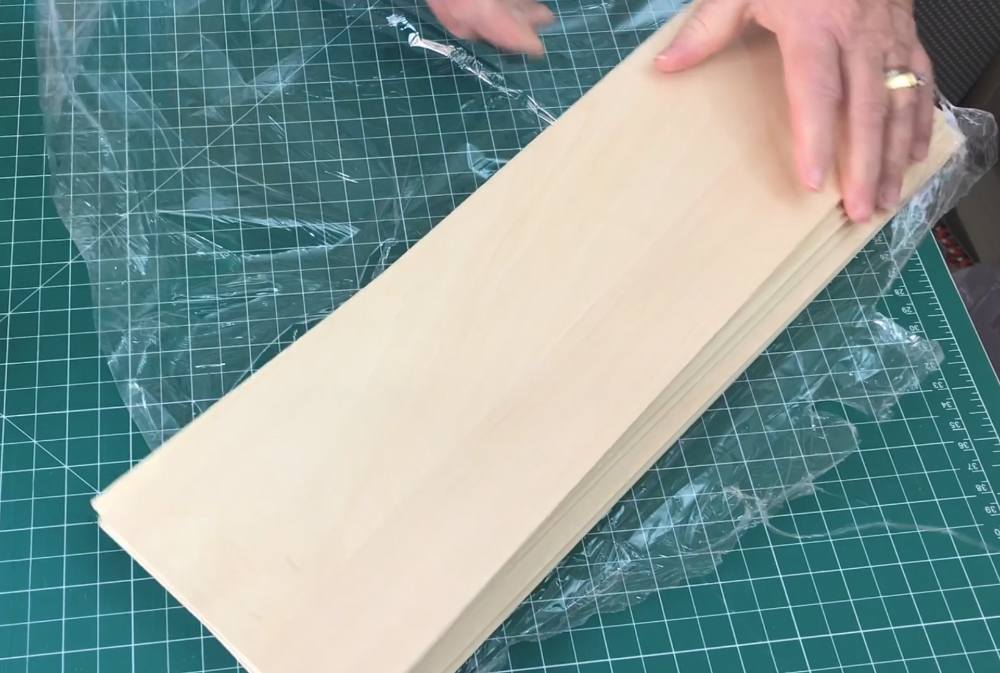
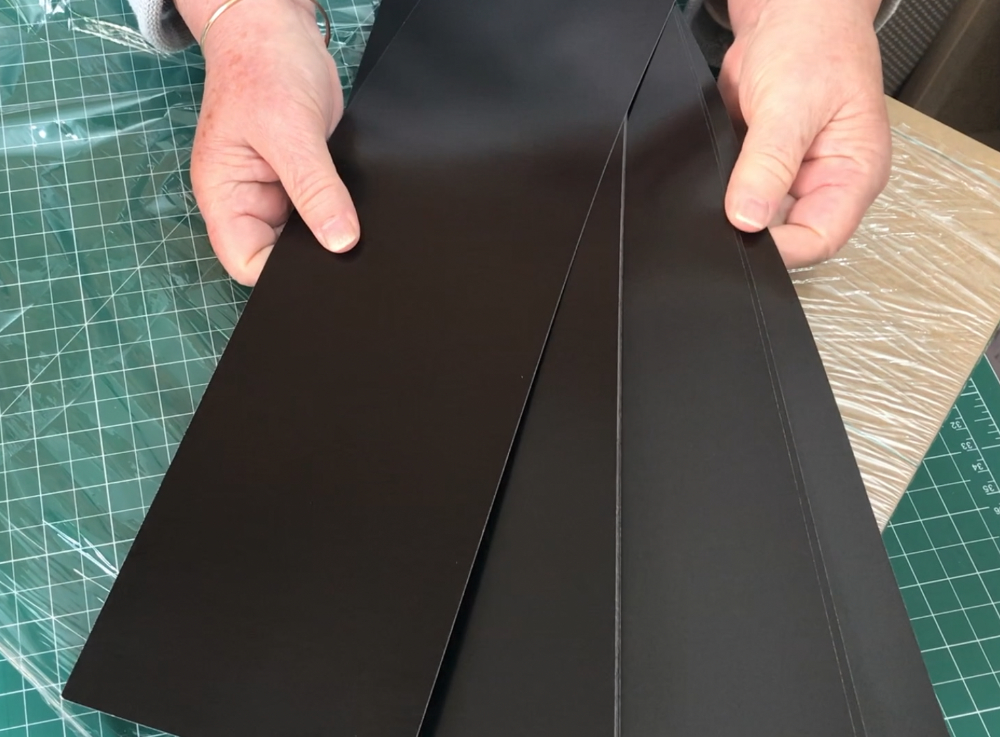
In this video and post we’ll be working with the range of materials sent to us by xTool including some 3mm plywood which has a nice smooth surface. It engraves and cuts beautifully and I love how it is cut perfectly to fit the slide extension.
Unfortunately, xTool don’t make this pack available on their website, at this stage it is only available to influencers. Honestly, I think this pack would be a great seller with those who have the slide extension as it saves so much time having to but down larger pieces of material.
However, all the materials we used are available from xTool, they are just larger pieces.
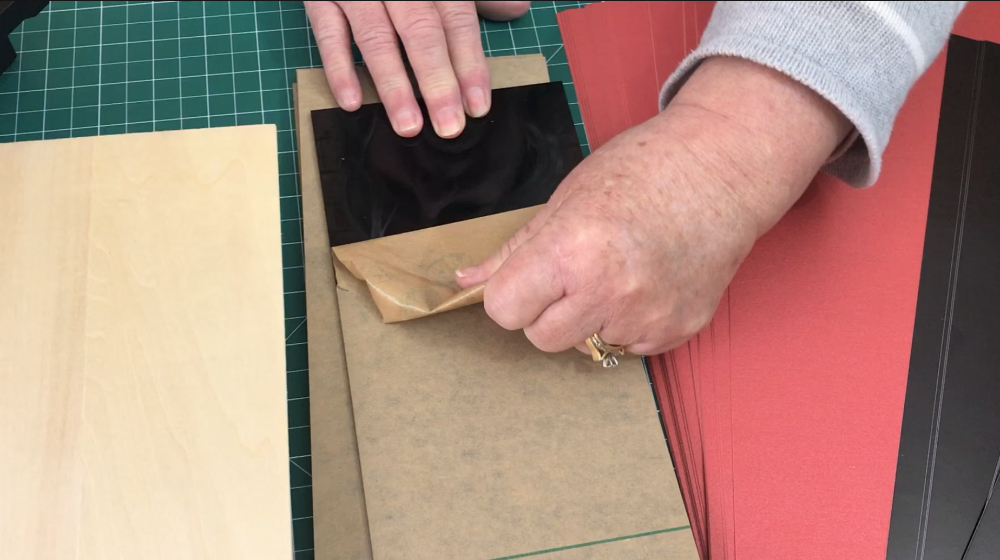
We also received some 3mm acrylic which I have to say is one of my favourite materials to work with – it’s really easy to engrave and cut and creates a super professional finish.
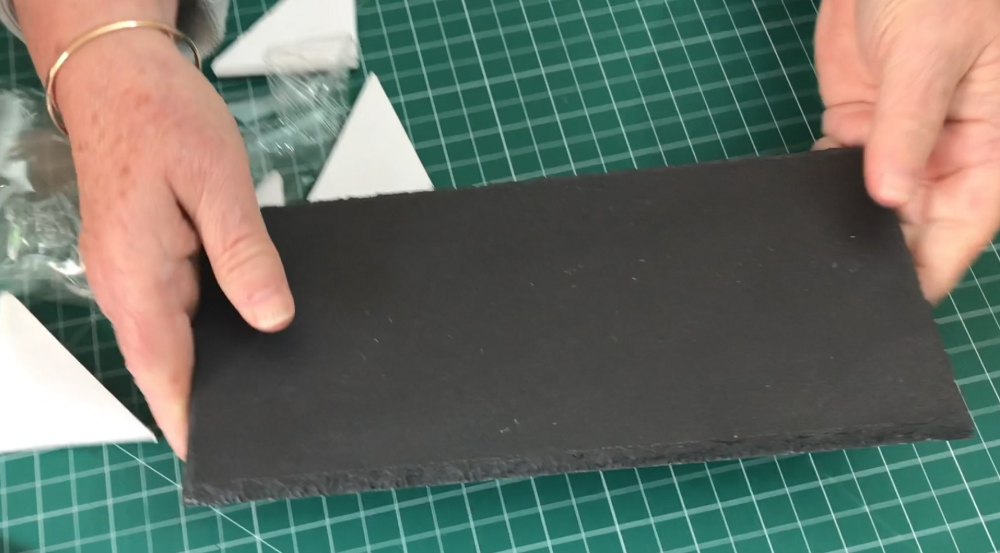
There are also a couple of extra long slate tiles and we have a great idea for them that we will share with you later in this post.
Also in the pack is a bundle of laser engraving photo paper. We’ve been wanting to engrave photos for a while now so this came at the perfect time and the results were way better than we expected.
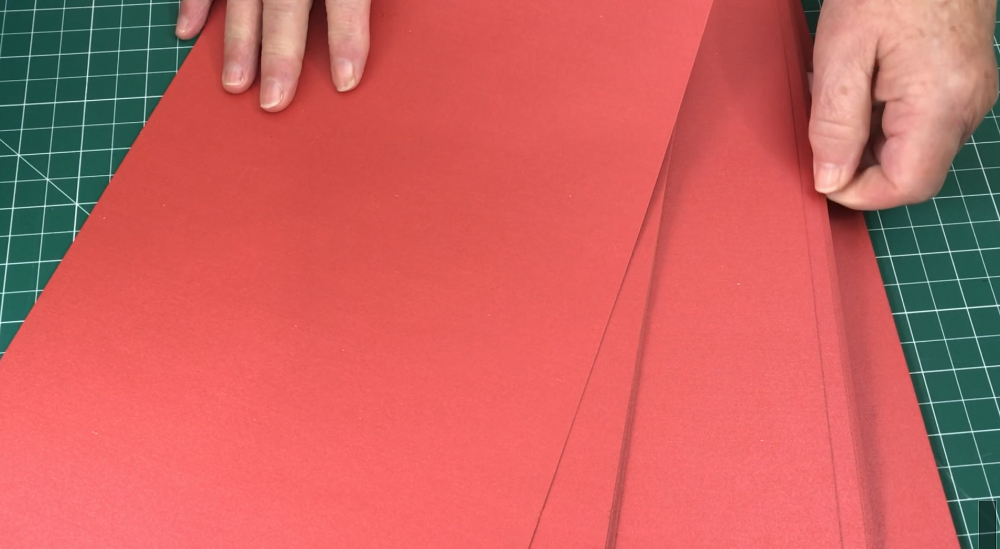
And finally we have a big pack of red card stock. Perfect for creating greeting cards or cutting box templates.
So let’s check out what we did with some of these products…
NOTE: If you need to know how to calibrate and setup the xTool F1 slide extension, click the link for a comprehensive video and post on how to do that.
Watch the xTool F1 Slide Extension in action
Files Used in these Projects
- Farm Animal Sign
- Zodiac Coasters
- American Vintage Font
- Alphabet Key Rings
- Candle Lovers Pack
- Lion Image
- Card Box Template
Project 1: Homestead Sign – 3mm plywood
The first material we started with is the 3mm plywood.
We found a cute farm animal SVG file on Creative Fabrica and thought we might make a sign out of it.
So we uploaded it to Creative Space which is the software that xTool created and I have to say that Creative Space has gotten quite sophisticated with lots of new features being added since I last used it.
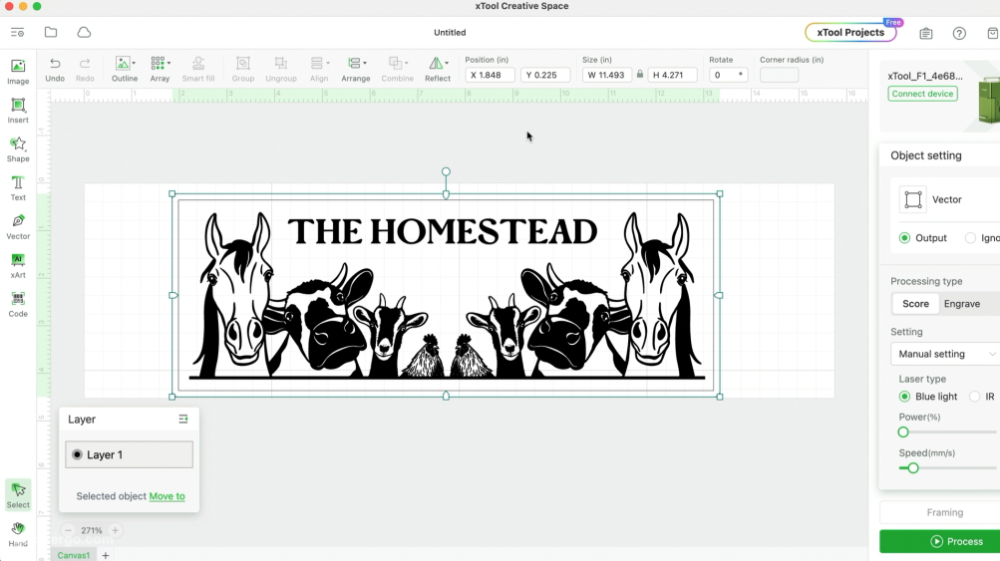
We duplicated the image and mirrored it to create a longer image and then we added some text with a font that we also downloaded from Creative Fabrica. And finally we added a border around the image because we wanted to cut it out as a sign.
Settings Used
- Blue Light
- Engraving – 50 power – 110 speed
- Cutting – 100 power – 5 speed (a little too intense – needs adjusting)
As you can see, it engraved beautifully. We did use the default setting for 3mm plywood in the software but during our testing we felt that the image wasn’t intense enough so we ended up changing the settings to get a darker result.
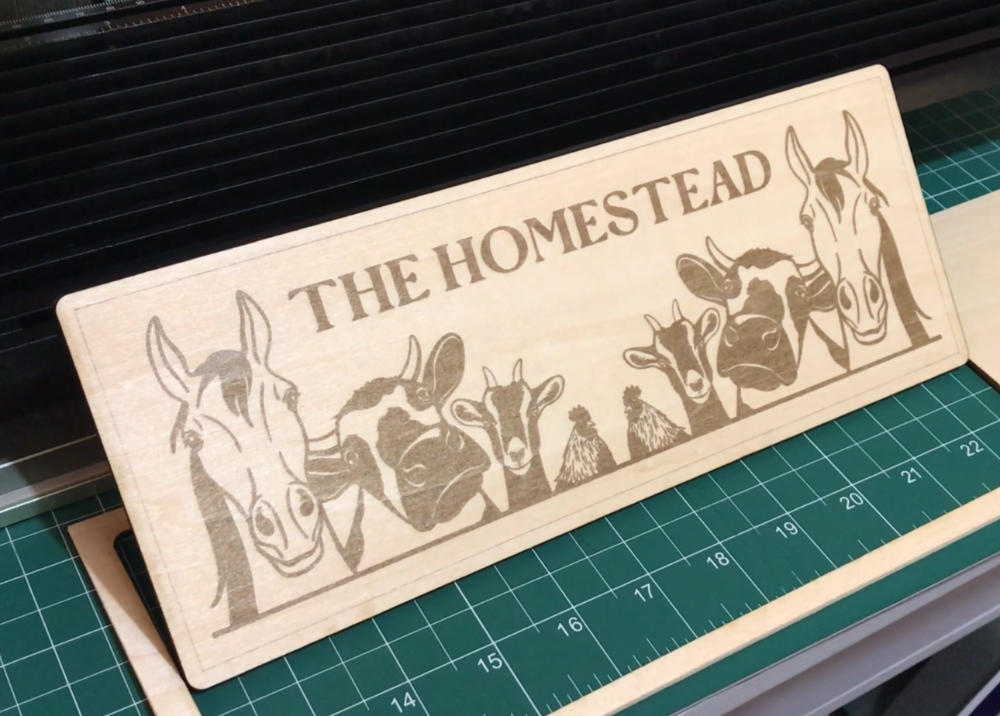
The engraved part came out great but I think I would adjust the settings for the cut next time. Perhaps increase the speed and do two passes instead of one. This may have helped to reduce the slight burning around the edge.
But overall the sign came out great and we’re very happy with the result.
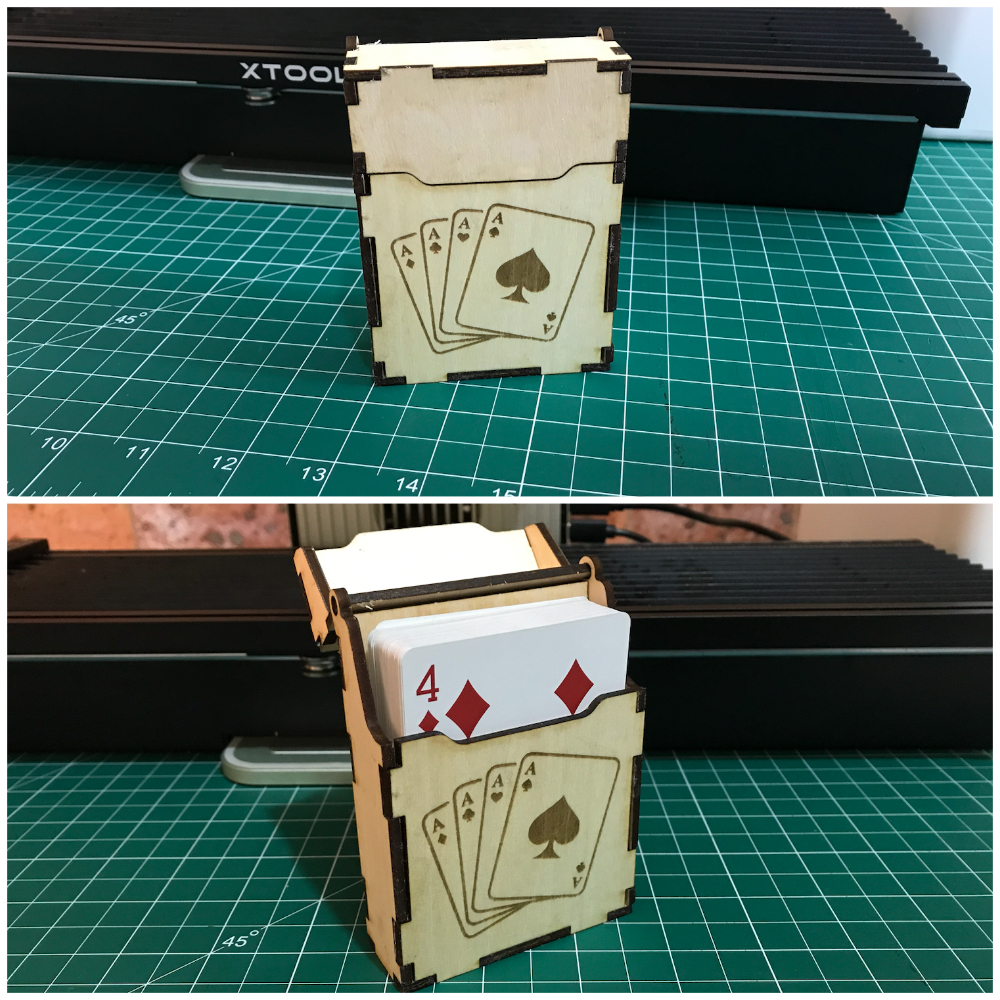
Project 2: Playing Card Box – 3mm plywood
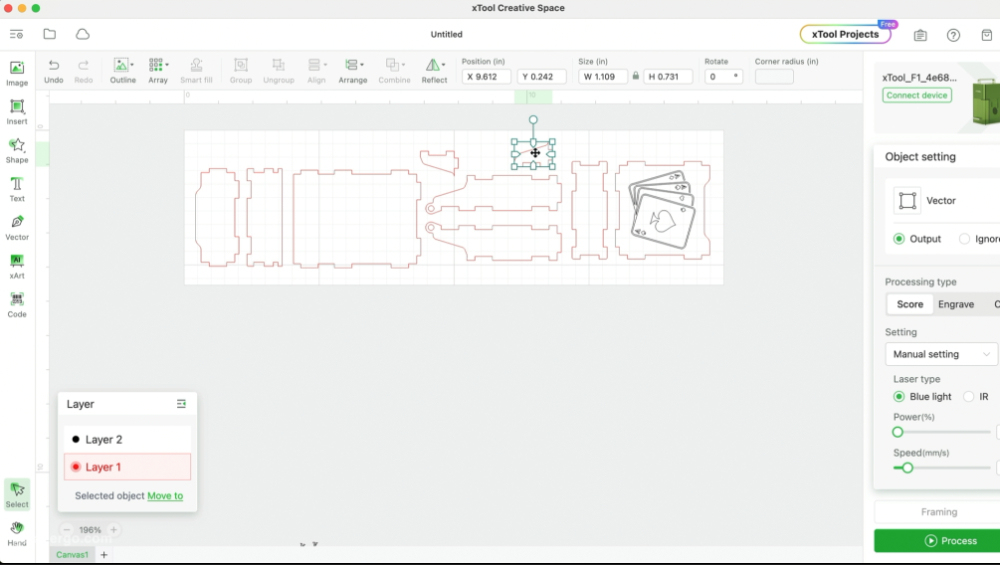
For the next project we downloaded a laser file again from Creative Fabrica and this time it is a template for a playing card storage box.
We’ve cut this before on another laser and it came out really well so we thought we’d test it with the xTool slide extension.
All the pieces fit perfectly in Creative Space so we were able to cut them all out in one go, using the slide extension.
Settings Used
- Blue Light
- Engraving – 50 power – 110 speed
- Cutting – 100 power – 5 speed (a little too intense – needs adjusting)
We stayed with the same cut settings as the homestead sign but we really should have adjusted them to prevent that burning although it does look more intense on camera than in real life.
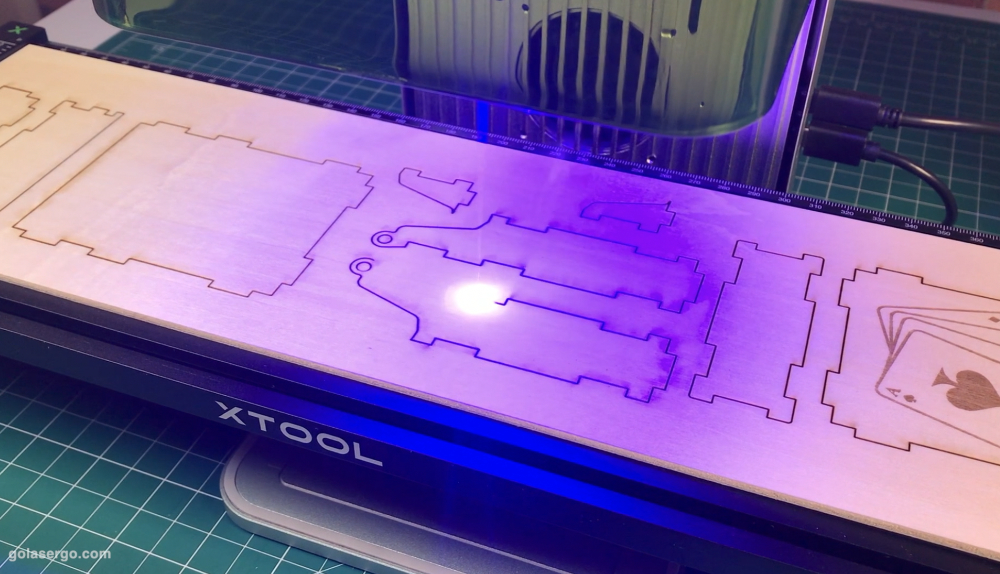
I think the final result came out okay.
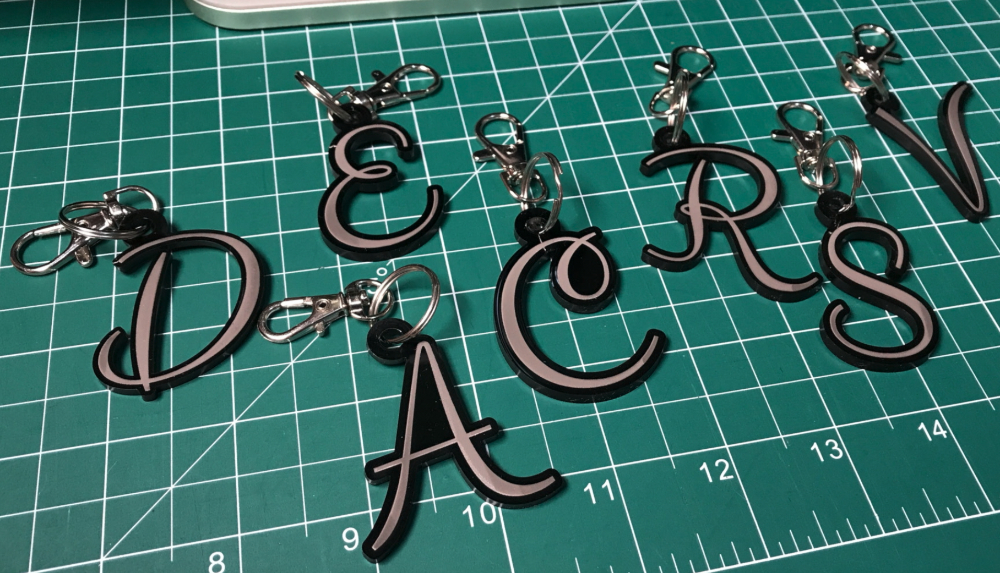
Project 3: Key Tags – 3mm acrylic
For our next project, we went with the 3mm acrylic. I love using acrylic because everything just comes out so good with very little effort our part.
Again, we used a file from Creative Fabrica and it’s one I’ve been wanting to do for a while because I thought they would make great stocking stuffers for Christmas so I made a heap of them.
Settings Used
- Selected the default 3mm acrylic setting in Creative Space software
We just used the default 3mm acrylic setting in Creative Space for these and you can see how nicely they engraved and cut.
I bought some key rings from Amazon to finish off the key rings and I really like how they turned out.
Project 4: Zodiac Coasters – 3mm acrylic
Sticking with the acrylic theme, we decided to create some coasters. I just love these zodiac designs that we found on Etsy.
I wanted to create one for each adult member of my family and I’ve only cut 4 so far so I’ve got a ways to go but I really think they are worth it. They look amazing.
Settings Used
- Selected the default 3mm acrylic setting in Creative Space software
We just went with the default acrylic settings and I was able to cut four out at a time on the slide extension.
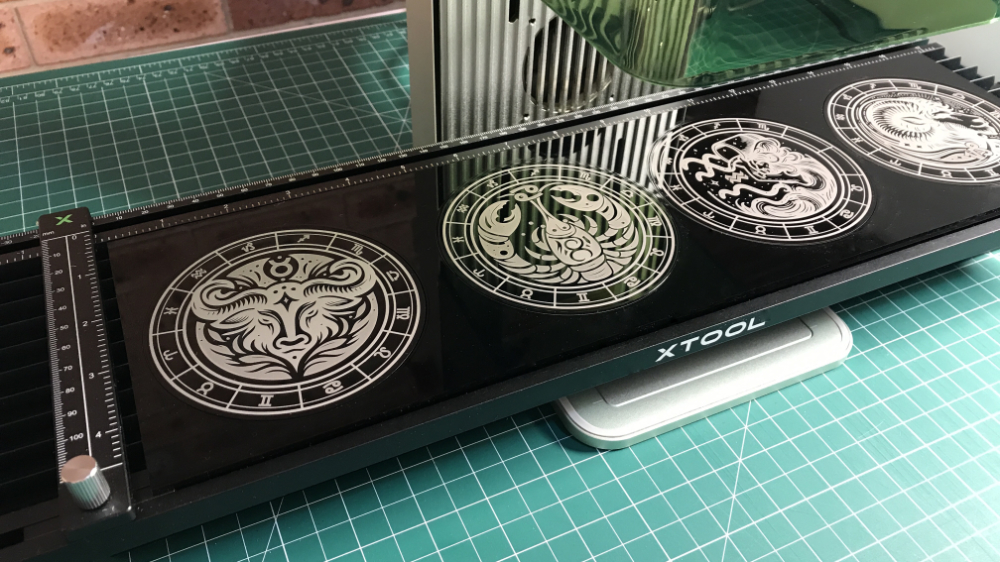
They took about 25 minutes per coaster but I think we can speed that up as I just noticed some settings in Creative Space that might help with that so I’ll be doing a bit of testing before I engrave the rest of them.
But don’t they look great.
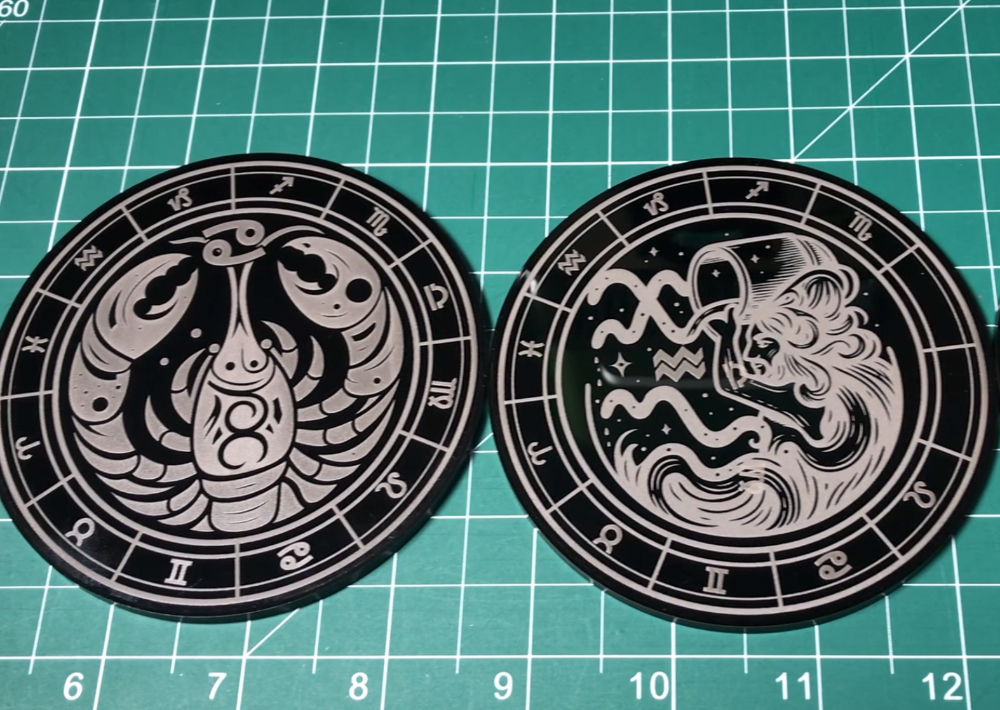
I will have to redo one of them as when I was moving them around in Creative Space and I didn’t notice that a couple of pieces had moved out of alignment but despite that, I am pretty pleased with the result, and it won’t take long to make another one.
Project 5: Lion – 3mm acrylic
Next we wanted to try engraving an image of a lion that we downloaded from Creative Fabrica.
This required a bit of playing around with in Creative Space as we needed to create a negative image for this to work plus we needed to remove the background.
We’re planning to do a separate video/post on this in the future but basically you have to remove the background and then invert the image.
Settings Used
- Selected the default 3mm acrylic setting in Creative Space software
It worked out great as you can see here and we also added a shape around it so that it would cut out as a coaster.
We really love this image.

Project 6: Lion – photo paper
Since we had some laser engraving photo paper, we thought we might try engraving the same lion photo onto that.
This isn’t scratch paper but a smooth type of paper that is suitable for engraving on.
Settings Used
- Selected the default laser paper setting in Creative Space software
We used the default setting in Creative Space for engraving on this type of paper and as you can see it came out great.

I would like to explore this a little further as I love some of the ideas displayed on the xTool site for this type of paper.
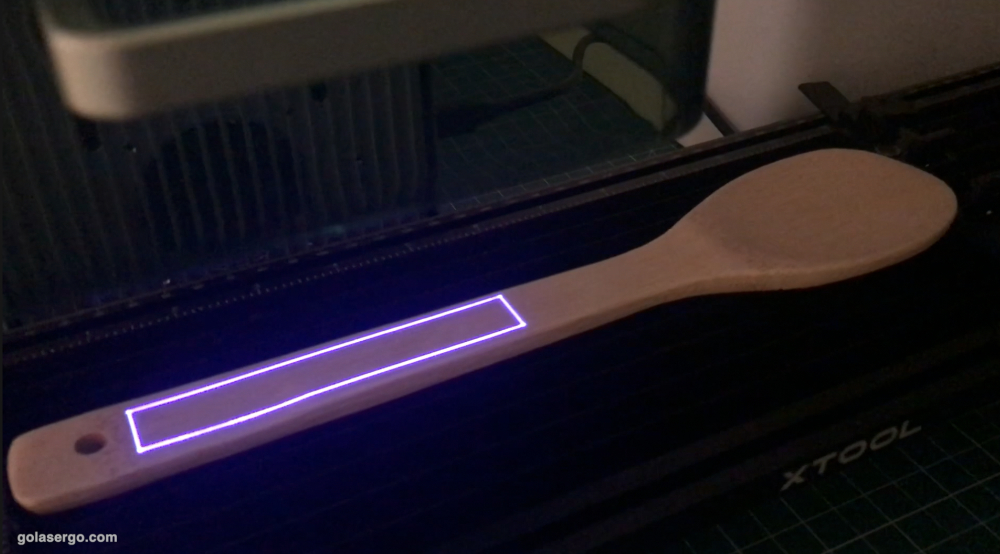
Project 7: Wooden Spoon
Next we wanted to try out some wooden spoons.
These are super easy to make – just search for some spoon or cooking quotes and type them into Creative Space.
Then you can select the framing option and turn the dial on the side of the machine to move it along and see exactly where it is going to engrave.
This allows you to line things up perfectly.
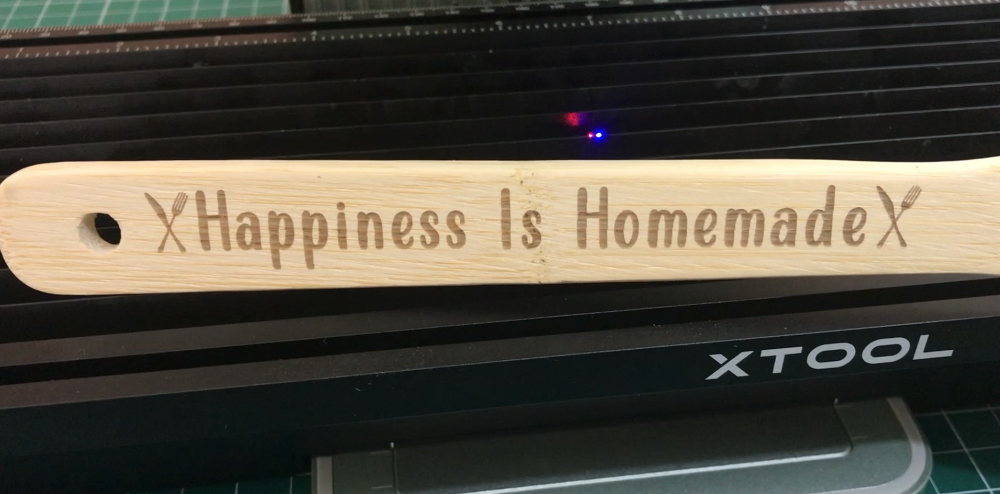
Settings Used
- Selected the default 3mm plywood setting in Creative Space software
I made a heap of these for Christmas presents last year. They are a fun gift and look really cute when you tie a ribbon around them, and I also added some homemade quilted pot mitts.
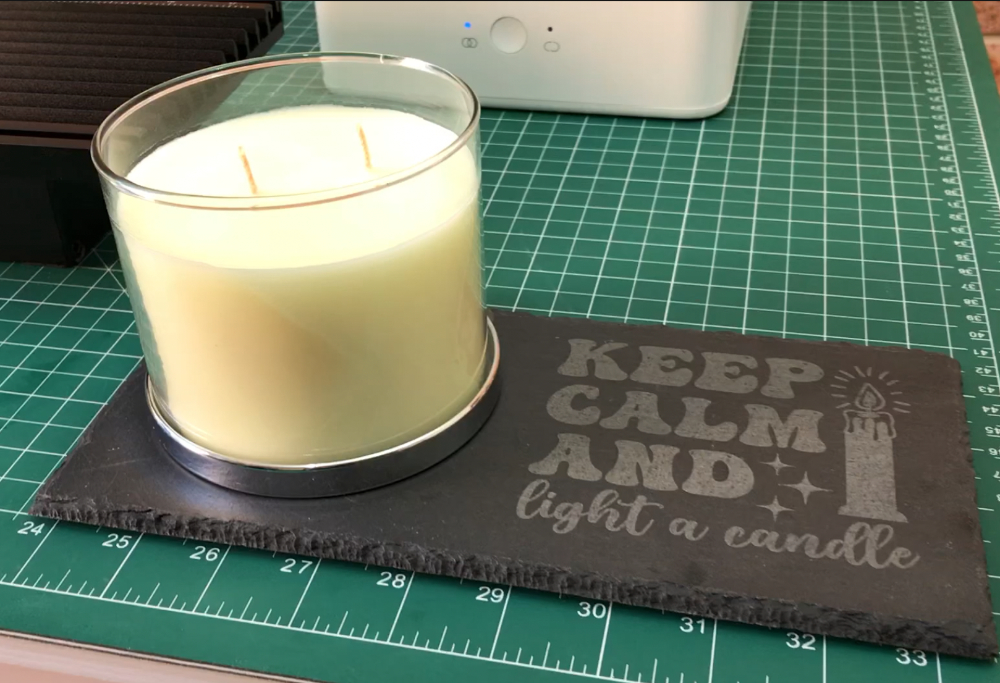
Project 8: Slate
I have to admit that when we received the pack of materials we were a little perplexed when we received the long pieces of slate.
The first thing that came to mind was maybe a welcome sign but then with a little help from ChatGTP we got the idea to create a candle stand.
So we found some candle quote SVGs on Creative Fabrica and engraved it on one side of the slate.
And on the other side we placed the candle. I love this idea and will be making more for Christmas gifts.
Settings Used
- Selected the default Stone setting in Creative Space software
So I hope we’ve helped you with some ideas for gifts for yourself, your family and your friends using your xTool F1 and the slide extension.
Leave a Reply