In this tutorial, I’m going to show you two ways to wrap text around a circle in Lightburn. This is super easy to do and great for making round coasters, Christmas decorations, name tags and more.
METHOD 1
Start by creating a circle using the Ellipse tool. Then type your text using the Text tool.

Select both the circle and the text. You can do this by clicking from the right with your mouse and dragging to cover both the circle and the text. (Or you could click on the circle and then press the SHIFT key and then click on the text.)
Either way, you want to have both the text and the circle selected.
Now right-click with your mouse and select the PATH TO TEXT option.

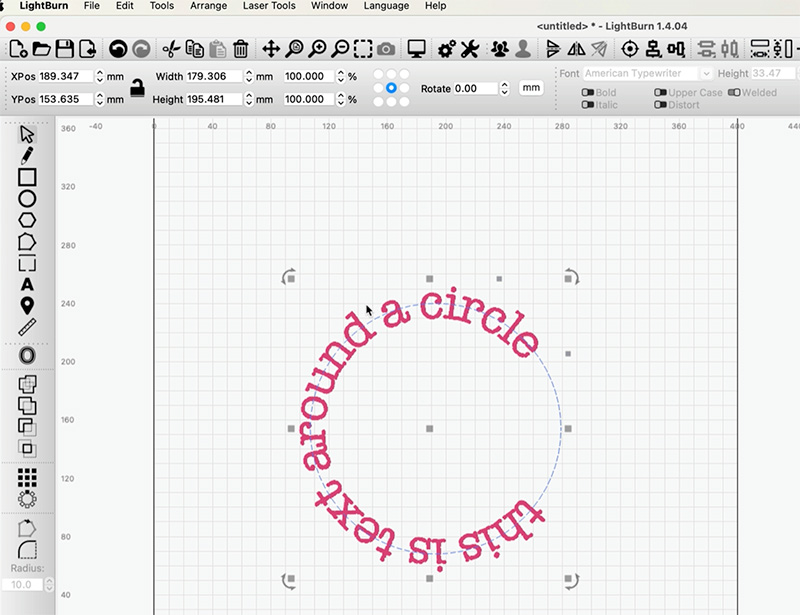
You will see that the text now sits around the circle.
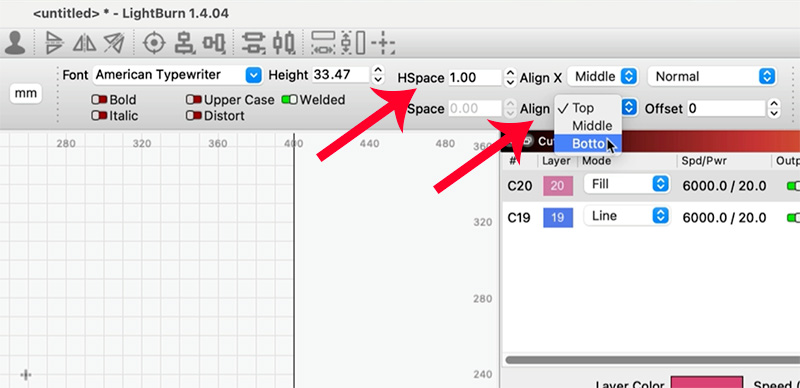
To get the text to meet, use either the HEIGHT or HSPACE options.
To get the text to sit around the outside or inside of the circle use the ALIGN Y option.

METHOD 2
Start by creating a circle using the Ellipse tool and type some text using the TEXT tool.
Look for the blue dot next to your text. I have found this to be in random places at times. I’m not sure why but you may find it at the start of the text, the end or floating around somewhere. If you can’t see it, make your text smaller.
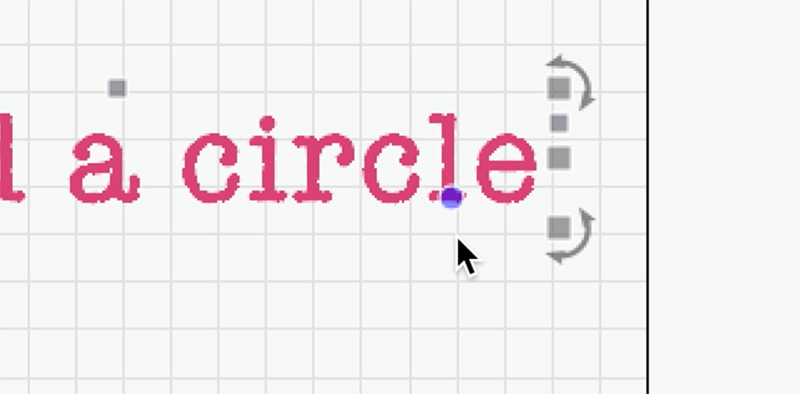
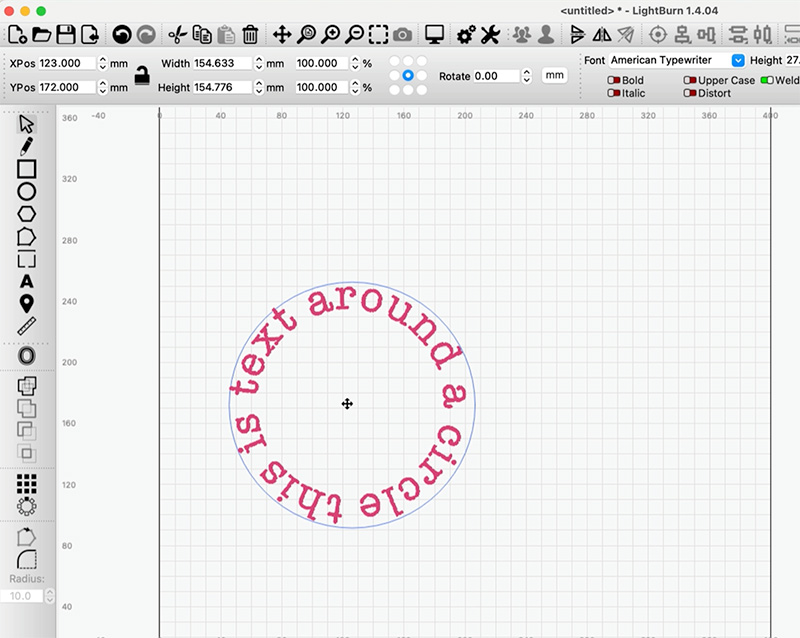
Now click on the blue dot with your mouse and hold while you drag the text down. It will form a circle.

You can then move it to fit inside or outside your circle by dragging from the corner.
You can also make the same edits that you made using the first method.
Leave a Reply