Atezr approached us and asked if we would be interested in trying out their Atezr L2 24w laser engraving machine, and we of course said we would be very happy to do that.
In a previous video we did an unboxing to show you what came in the box that we received.
It’s Atezr’s second-generation product with lots of improvements on previous laser models.
This is a very attractive looking machine and it’s a well built and sturdy. Everything about it has a solid feel.
Putting it together
The manual is very helpful and we had very little trouble putting it together.
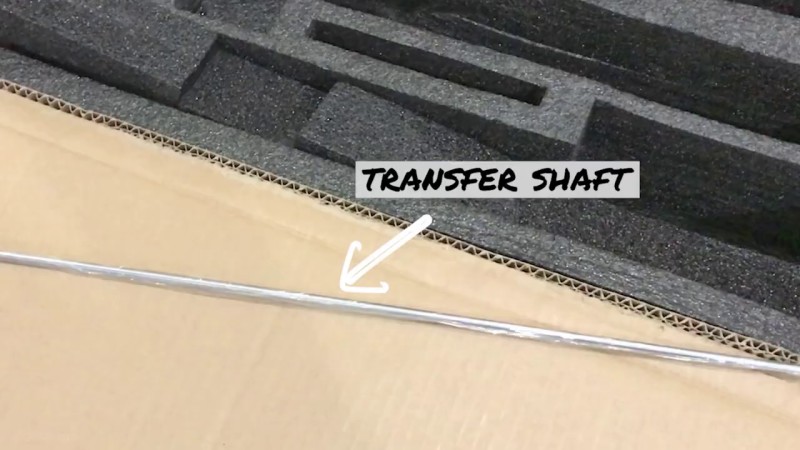
- It was relatively easy to put together until we got to the transfer shaft and we had a few issues getting that working.
- The main problem was in getting the transfer shaft aligned. (Actually just getting it unwrapped from the plastic wrapping was a bit of a challenge ????.) However, with a bit of perseverance we finally managed to get it set in right.
Watch the video review or scroll down for the written review
Buying Link
Features
The Atezr L2 is quite a bit larger than our other laser machines and it has a working area of 410mm x 410mm (approx 16″ x16″), so there’s plenty of space for most projects.
It’s a very sturdy machine and has a nice matt finish. Another great feature is that the wires are all encased within the X-axis bar, so there are no wires dangling in midair. Everything is tucked away nice and neat.

Laser Head
There are four 6w laser diodes with a 40mm focal length that are compressed in a manner that they provide excellent cutting abilities.
The laser spot size is 0.08mm x .006mm and a 0.01mm engraving accuracy. So fine detail is no problem with this machine.
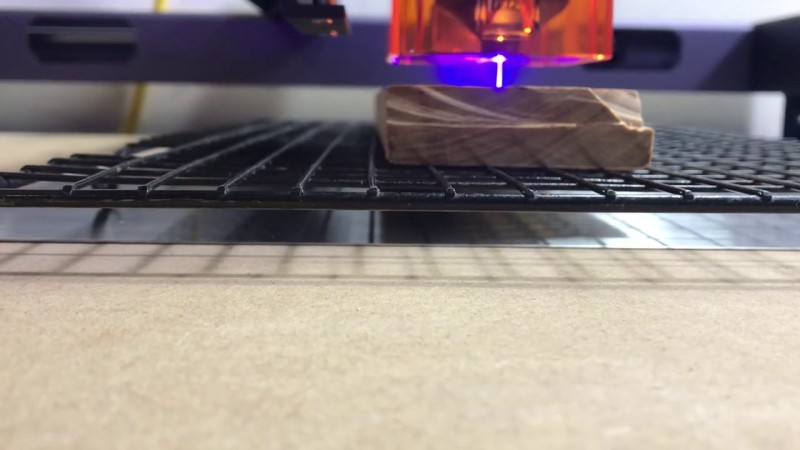
AutoFocus
The Atezr Laser machine has an autofocus function. And for us this is a standout feature.
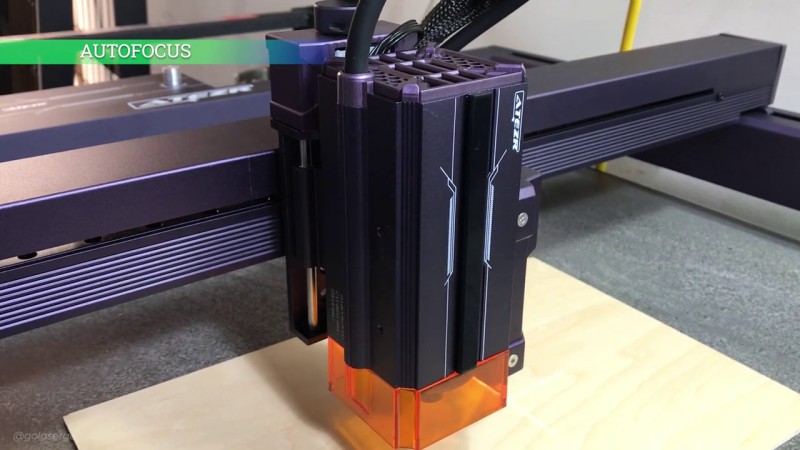
It means that the laser head will self adjust it’s focal length to the thickness of the material.
With our other lasers we need to use a spacer to adjust the laser head to the material.
We did have to set up the Autofocus feature in Lightburn, but this is easy to do by just following the instructions in the manual that comes with your machine.
It’s great to watch the laser head in action as it self adjusts by going up and down automatically to set the distance. You can see this in action in the video above.
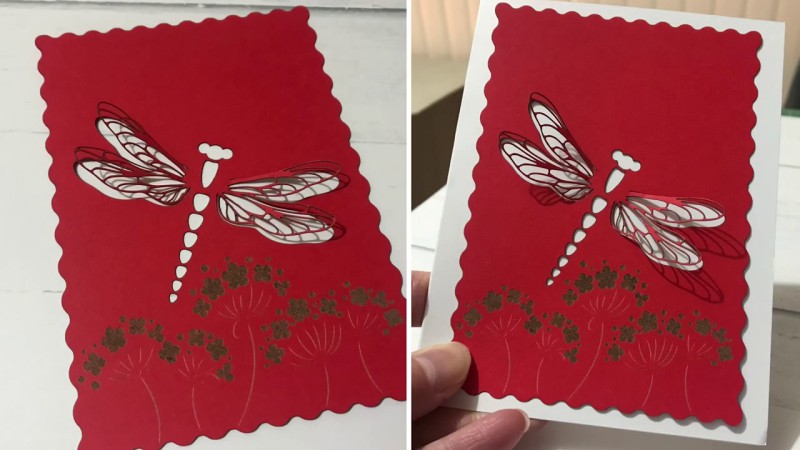
Blurry engravings are not an issue, as the 4 mm increase in cutting capacity compared to similar machines is a substantial improvement. It gives you that extra flexibility to tackle more diverse projects with precision. We found that this laser cuts very fine detail on Card Stock and here is an example. You can see the fine detail on the dragonfly wings.

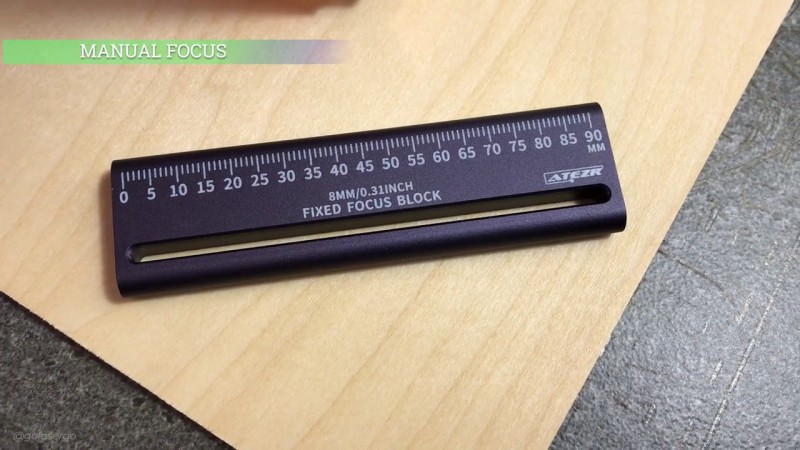
There are times when you may need to set the focus manually and Atezr have this covered with the fixed focus block.
Fixed Focus Block
For those times when you need to set a manual focus you have the Fixed Focus Block. This is generally needed when you are cutting or engraving fabric or cardstock, or materials with an uneven surface such as slate.
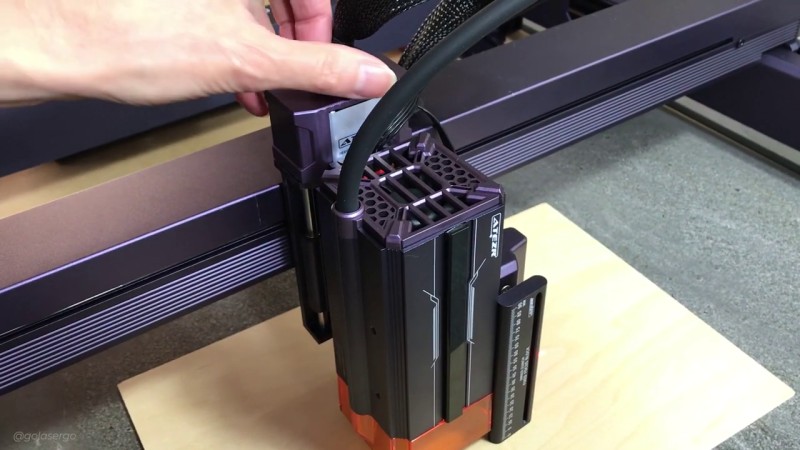
You can do this manual adjustment by slipping the Fixed Focus Block under the laser head and adjusting the distance between the laser and the material, by turning the knob at the top of the laser head.

Or you can stand the Fixed Focus Block up against the laser head and adjust the distance using the knob on the top of the laser head.
Materials
The laser can cut through over 100 materials, we didn’t try anywhere near that many, but it’s great to know that you can cut such a wide variety of materials if you need to.
Here is a link to the Atezr Materials List with power and speed settings.
Remember to always do a test run before committing to cutting or engraving a project. There are all sorts of variables that can effect the results so it pays to make sure that you are going to get the right cut or engraving effect beforehand.
Engraving Speed
The Atezr L2 engraves at a speed of up to 54000mm/min (900mm/s) so that’s very impressive and way faster than any of our other laser machines.. Engraving at these speeds certainly helps to improve your productivity.
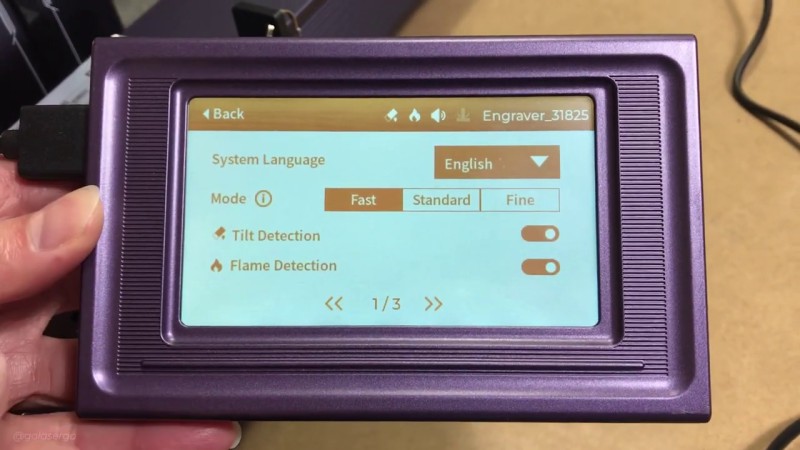
However, you may not wish to engrave a particular project at a fast speed, so the Atezr has a three speed switching mode that enables you to select a speed that best suits your project.
- Fast 50000mm/min, plus 4000mm/min acceleration, up to 54000mm/min which shortens your working time
- Standard 30000mm/min, for balance of speed and accuracy.
- Fine 6000mm/min provides the highest level of precision and detail.
Watch the video above to see the speed of the laser in action
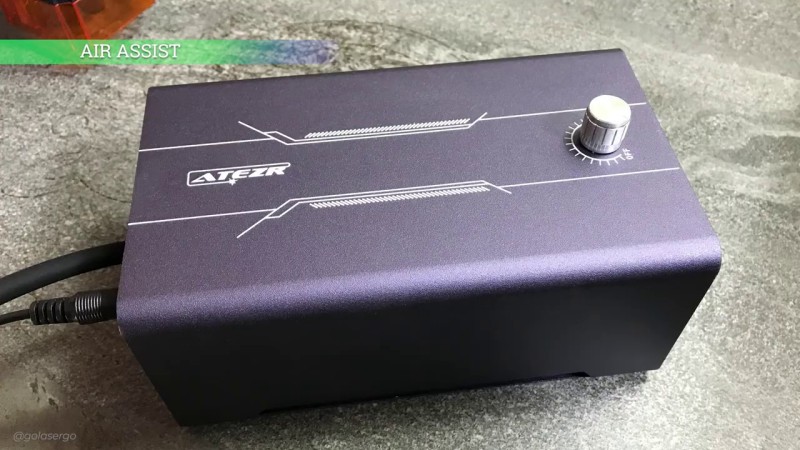
Air Assist
The machine comes with air assist and this helps to reduce burning that can happen on your projects.
It’s super quiet and the air flow is adjustable. Now the air assist only works when the machine is running.
There is a double air filtration that removes dust and prevents clogging.
Touch Screen Controller
The 4.3″ touch screen controller attaches to the front of the machine easily as it is magnetised.
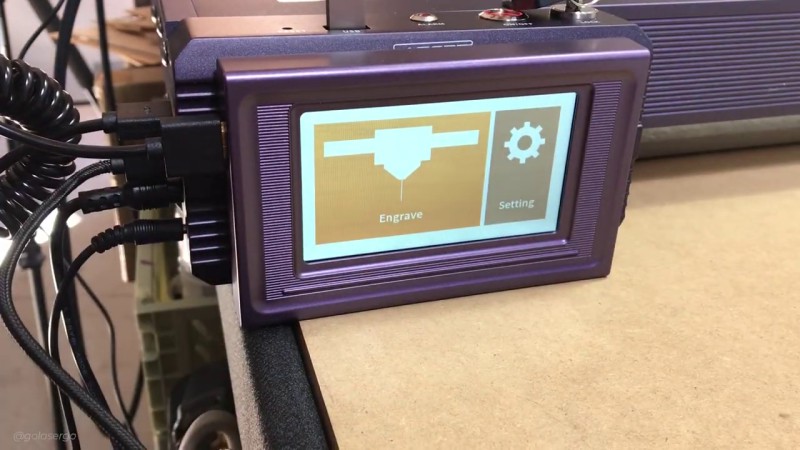
The controller allows you to work offline. So you save files to the TF card which means you don’t have to connect the machine to your computer.
This also you can move the machine to another location, away from the computer, and run small batches of work repeatedly. This functionality definitely streamlines your workflow.
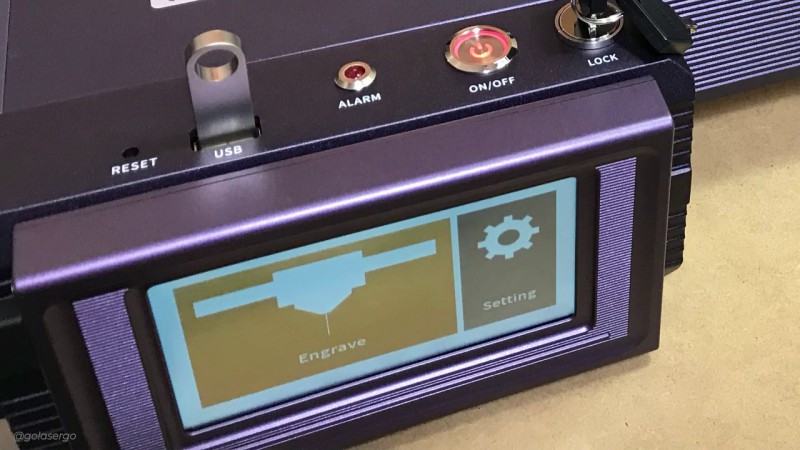
It’s really nice having everything in one place where I can easily change settings
Power Loss Recovery
One feature that stood out to me was the Power Loss Recovery.
Now this is a wonderful feature that remembers the engraving position in the event of a power failure. The machine seamlessly picks up where it stopped engraving, allowing you to continue your project from the exact spot where the machine stopped, so there are no glitches in the design.
This means that, in the event of a power problem, you can resume your engraving and you don’t need to toss your project, so it minimises material waste making it a real game-changer for anyone who values efficiency and productivity.
To demonstrate this in the video, we set the function then started engraving. Then we turned the machine off to simulate a power outage. When we turned the machine back on the message on the screen asked if we wanted to continue and we clicked YES.
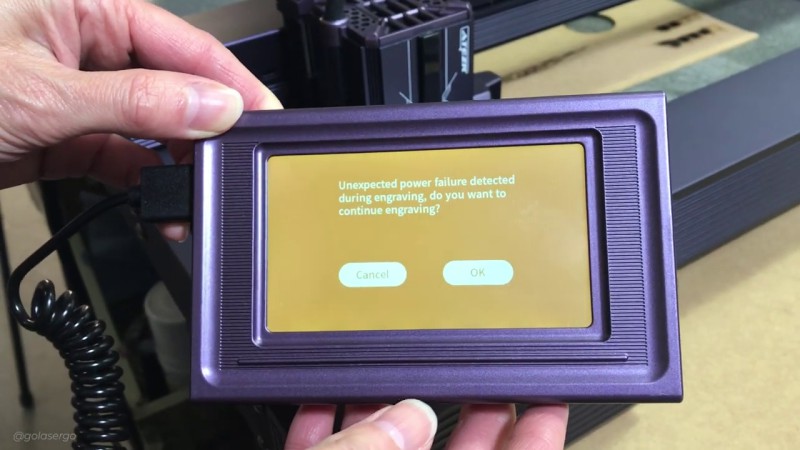
The laser then moved back to the image and continued to engrave. You can see in the image below that there is no sign of the project having been stopped.
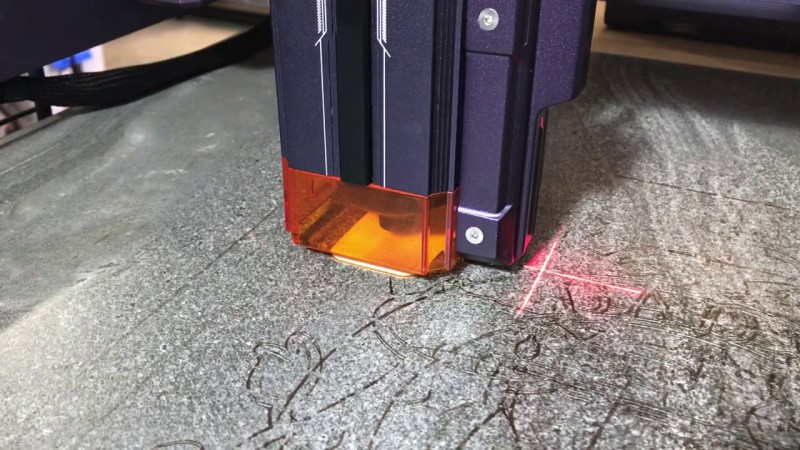
Preview laser cross sign
The Atezr L2’s preview laser cross sign allows you to position your designs accurately.
To set this up you need calibrate first but once you have done so you will love it. It’s particularly good for small projects like this one where it can be difficult to line everything up.
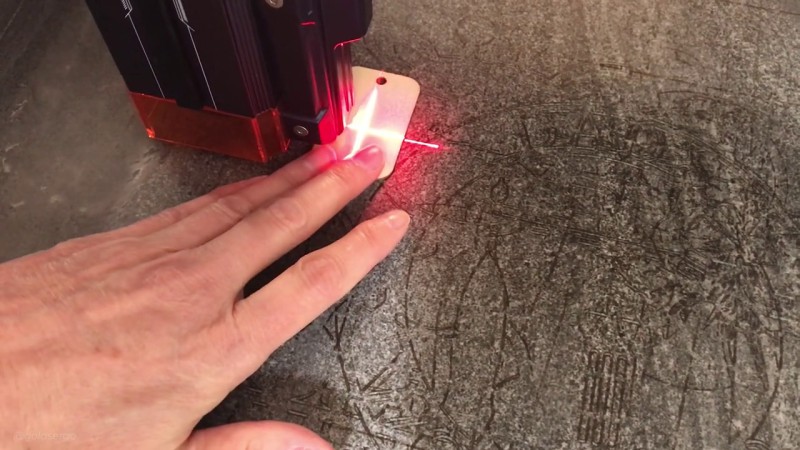
So as you can see you don’t need to place the material under the laser head, instead you can place it under the cross hair. And then in Lightburn you just hit a button and the laser head moves over to the correct position.
You can see this in action in the video above.
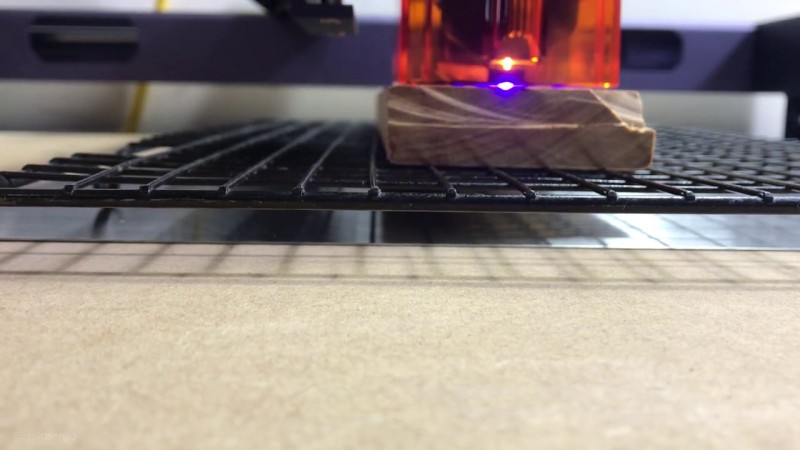
Sinking Function
Cutting different thicknesses is super easy with the automatic sinking feature of the Atezr L2.
What this means is that on each pass the laser head will drop, which enhances cutting depth. Atezr says that it is a 25% increase in sinking depth compared to other brands with the same power.
Once the laser has finished the first pass the head drops down and does the next pass.
Safety Features
The Atezr L2 has a number of really cool safety features including:
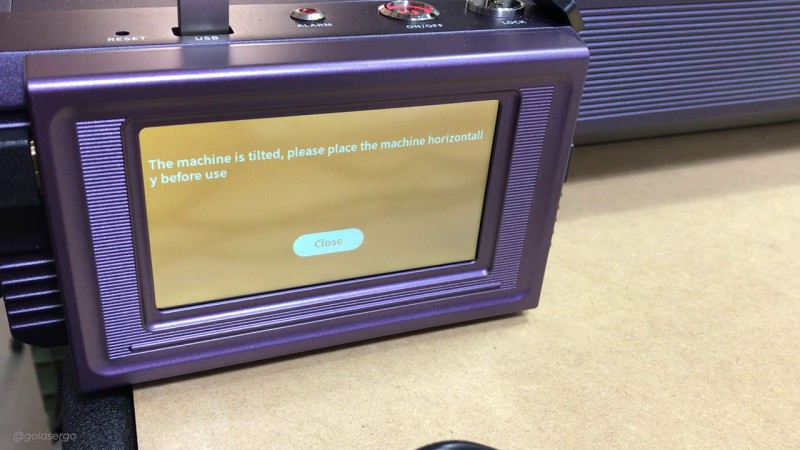
1.Tilt Function
This machine has a special safety tilt protection feature. If the machine tilts too much, like when it’s at a steep angle which is more than 15-20°) it automatically stops working which helps prevent accidents.
The laser head returns to the home position and an alarm sounds. You will also get a message on the screen.


2. Child Safety Lock
This machine comes with a safety key and it only operates when the key is turned on. When you have finished for the day, simply turn off the machine and remove the key. This ensures that the machine cannot be used in your absence (providing you don’t leave the key in the lock, of course).

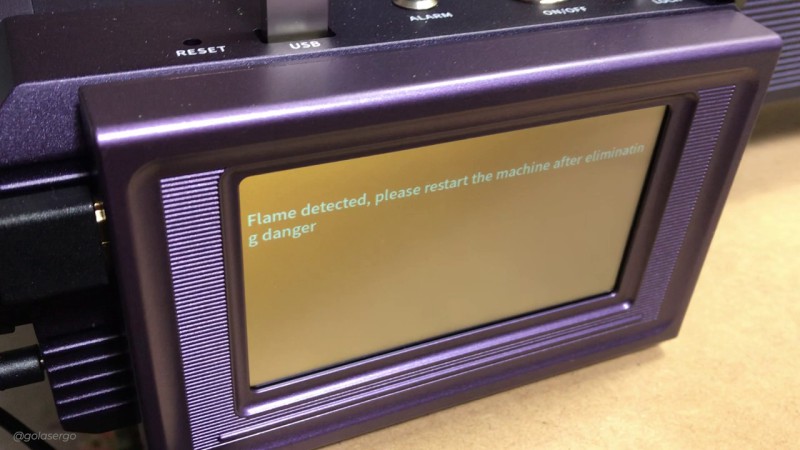
3. Flame Detector
There is an alarm that warns you if flames are detected. Remember you are burning through material you may have the odd time when something will catch alight.
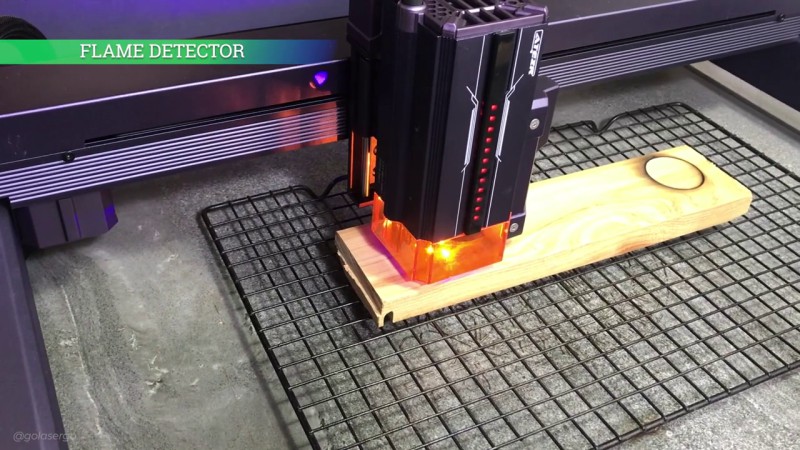
When this happens, the machine turns off and a message appears on the screen.
Cons
It was relatively easy to put together until we got to the Transfer Shaft. We did have a few issues getting it aligned, but after a few attempts we managed to get it into position.
The biggest issue with the Transfer Shaft was removing the plastic wrapping. What a nightmare. Removing it was very challenging.
Projects Made Using the Atezr L2
Designs used in these projects.
SVG Files from Etsy
- Dragonfly – Engraving File
SVG Files from Creative Fabrica
- – on coasters
- – on aluminum plate
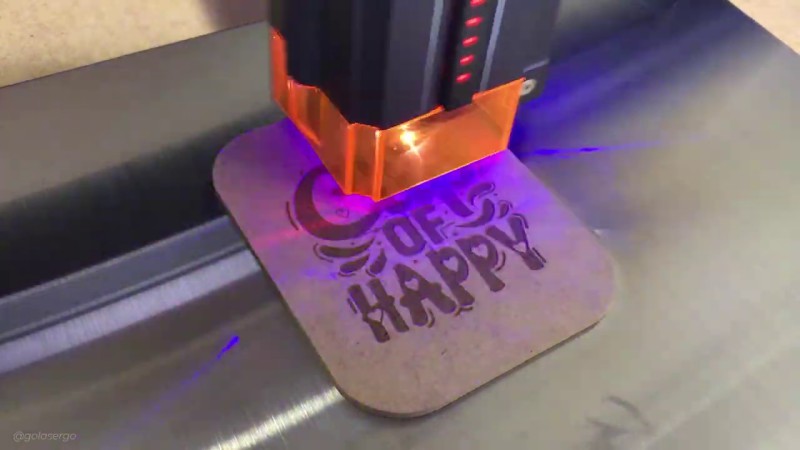
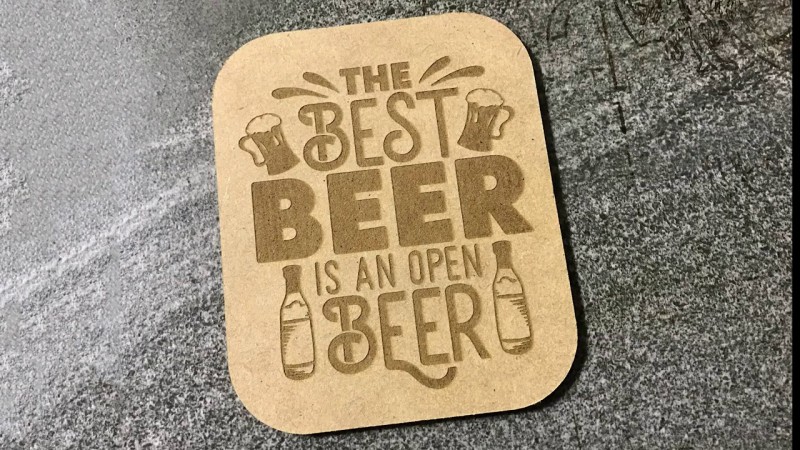
Coaster -Wood
Make sure you do a test run with your machine before committing to these settings.
- Speed 6000 mm/min
- Power 40%
- Air Assist – NO
- Auto Focus
- FILL
The took approx. 9 mins to engrave.
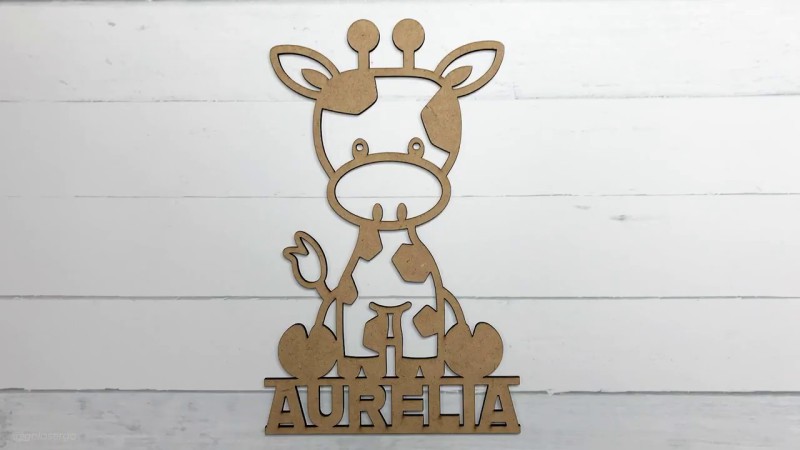
Giraffe Name Sign
This project is a name sign for a toddler’s room. This is for Paula’s little niece and we thought it was just delightful.
We used 3mm MDF board for this and the is from Creative Fabrica.
Settings
- Speed 300 mm/min
- Power 100%
- Manual Focus – 5mm
- Air Assist – ON
- LINE
It took approx 10 mins to cut out.
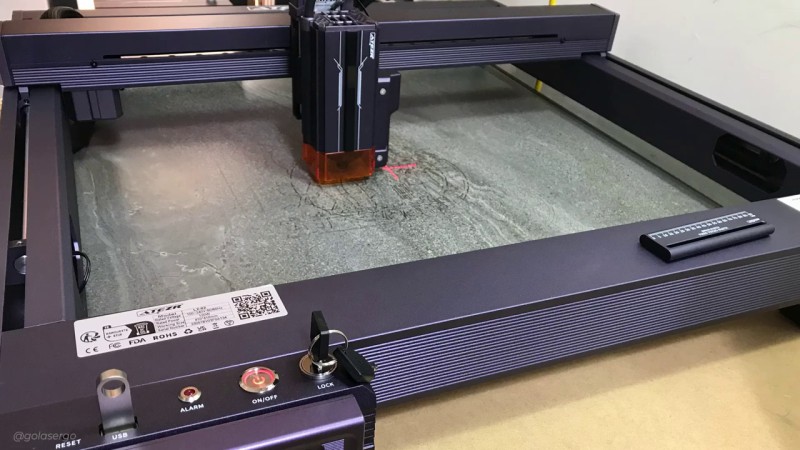
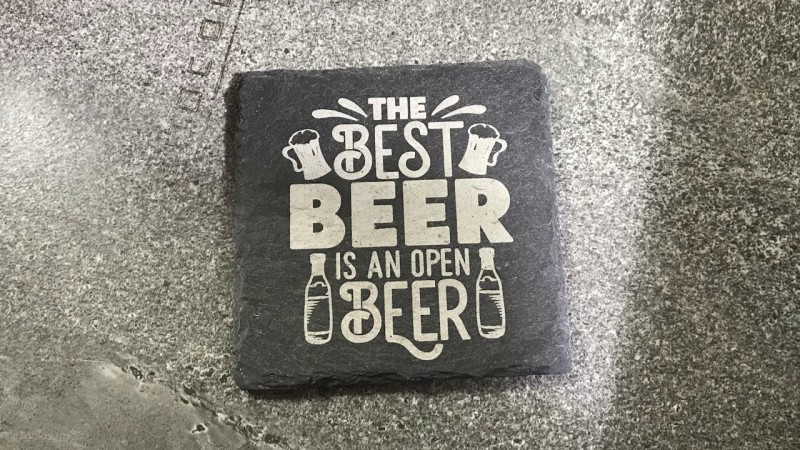
Slate Coaster
This one was engraved on a slate coaster.
Settings
- Speed 6000 mm/min
- Power 40%
- Manual Focus – this was because the surface of the slate was uneven.
- Air Assist – OFF
- FILL
The took approx. 8 mins to engrave.
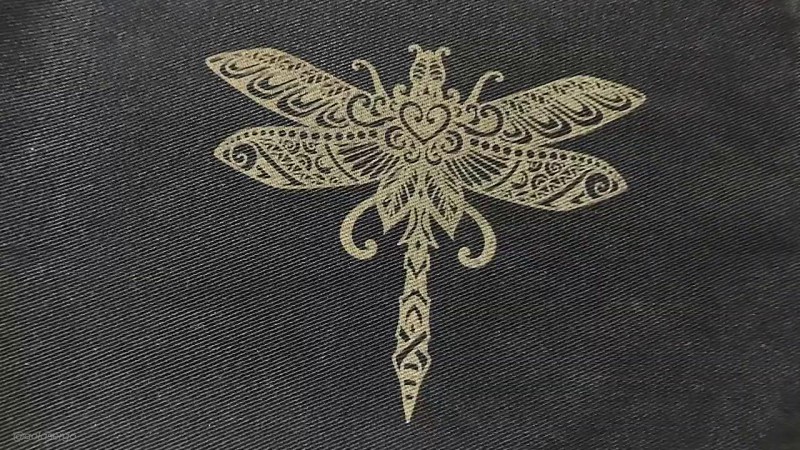
Engraving on a Denim
We were curious about the engraving capabilities of the Atezr L2 on denim, given its higher power compared to our other laser machines. Any concerns were unfounded, as it did a beautiful job as you can see in the photo below. There was no scorching or burning, and the laser precisely removed only the top layer of the denim—exactly what we were aiming for.
Settings Used
Make sure you do a test run with your machine before committing to these settings.
Dragonfly 1
- FILL
- Speed – 8000 mm/min
- Power – 15%
- No Air Assist
- Manual Focus – see note above about engraving on material and cardstock.
The design took approx. 7mins 33 secs to engrave.
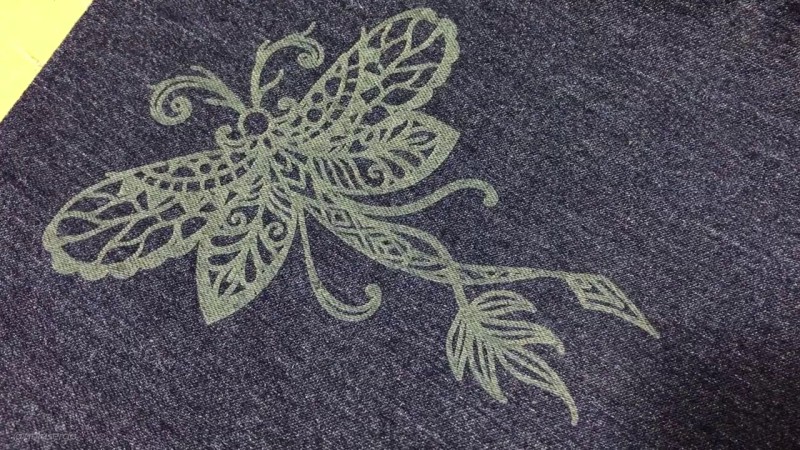
Dragonfly 2
- Speed 8000 mm/min
- Power 15%
- No Air Assist
- Manual Focus
- FILL
The design took approx. 7mins 44 secs to engrave.
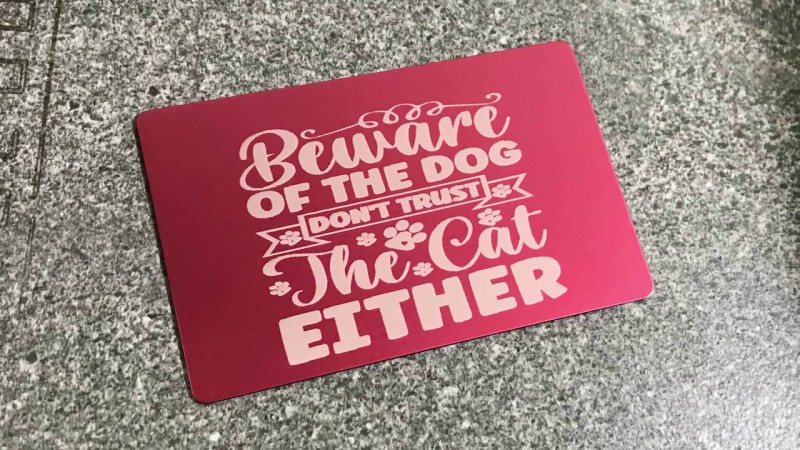
Aluminium Plate
You can use aluminium plates for all sorts of projects. We decided to engrave this plate to pop on the gate.
Settings Used
Make sure you do a test run with your machine before committing to these settings.
- Speed 6000 mm/min
- Power 40%
- Air Assist – NO
- Manual Focus
- FILL
The design took approx. 3 mins 45 secs
We hadn’t figured out the cross positioning feature at this point so as you can see the design is not quite centered.
Card Stock
So how does the Atezr L2 handle card stock?
For the dragonfly card we engraved and cut out the design. There are some very fine lines that needed to be cut and I wondered how the machine would handle such fine work. Need I say, it cut the fine lines perfectly.
Settings Used
Make sure you do a test run with your machine before committing to these settings.
I prefer to engrave my designs before cutting them. I feel that it’s a more sturdy way of doing things.
Card 1 – Dragonfly
Engrave Settings
- Speed 1500 mm/min
- Power 40%
- LINE
Cut Settings
- Speed 6000 mm/min
- Power 40%
- Air Assist – NO
- Manual Focus
- FILL
And I think the result is just gorgeous and I love having the 3D effect on the wings. I can certainly see me making cards from this design, and the Atezr made it so easy to do.
I forgot to take the time for this project.
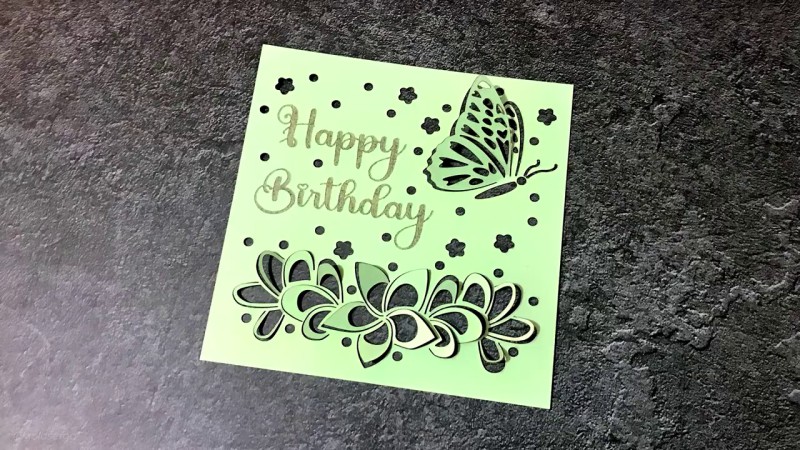
Card 2 – Butterflies & flowers
Engrave Settings:
- Speed 1500 mm/min
- Power 50 %
- LINE
Cut Settings:
- Speed 6000
- Power 15%
- Air Assist – NO
- Manual Focus
- FILL
Unfortunately, I didn’t record the time taken for this design either.
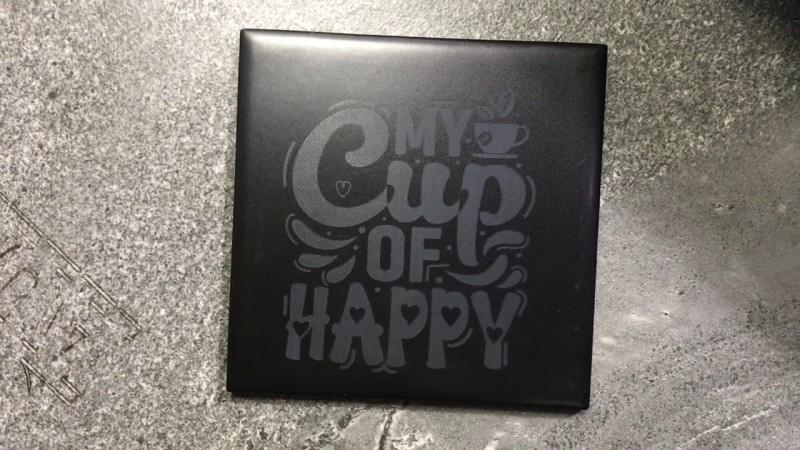
Wall Tile With Polished Surface
For our final test we decided to try out a tile with a highly polished surface. We weren’t too sure how the laser would react against such a highly polished surface. but It came out fine. We may have gotten a more defined result if we had used more power, however, we were pleased with the result.
I suggest you play around with the settings until you get the effect you are looking for. Just keep a spare tile on hand to run your tests on.
Settings Used
Make sure you do a test run with your machine before committing to these settings.
- Speed 6000 mm/min
- Power 40%
- Air Assist -NO
- Auto Focus
- FILL
The design took approx.10 Min to engrave.
So there are just a few projects that you can try. Really there is just so much you can do with a laser machine and the Atezr L2 opens a world of possibilities for you.
Leave a Reply