You may have noticed when using LightBurn that when you select the Fill option, there are no changes to the image in the main window. Your image still looks like a line drawing.
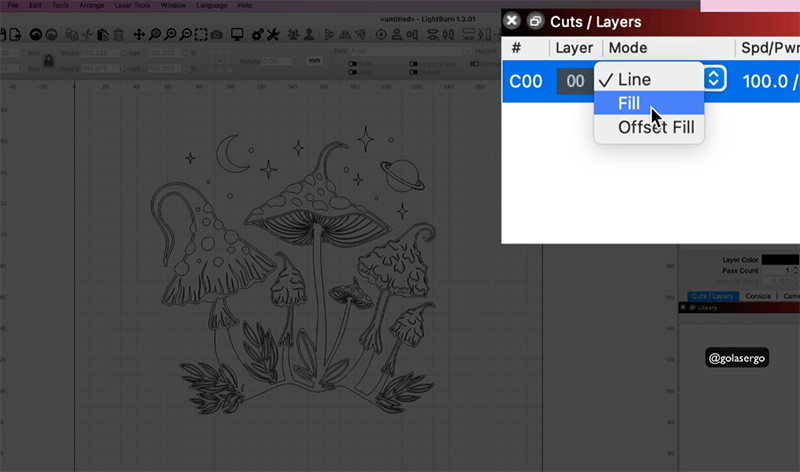
So if you are new to engraving, you may think that your image is simply going to engrave as a line drawing and not be filled in.
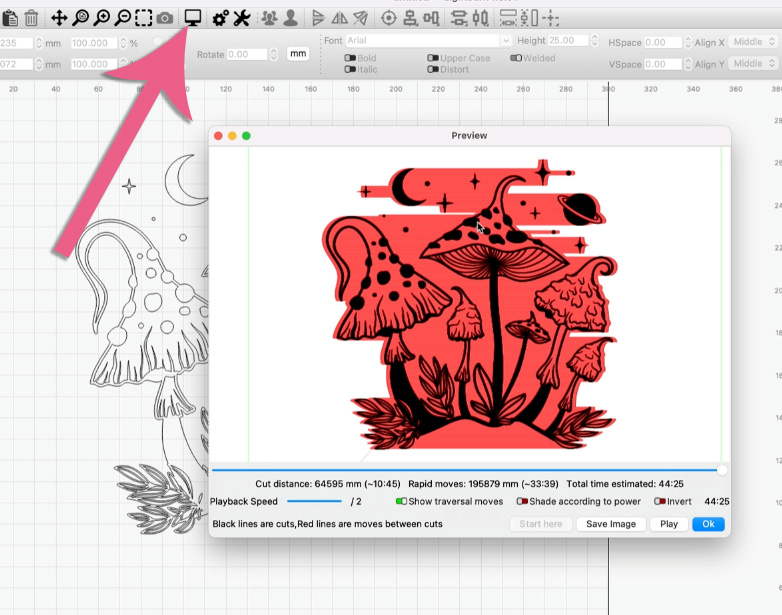
And the only way you can really check that everything is as you want it, is to click the Preview option. As you can see in the image below, the image is now showing as filled in.
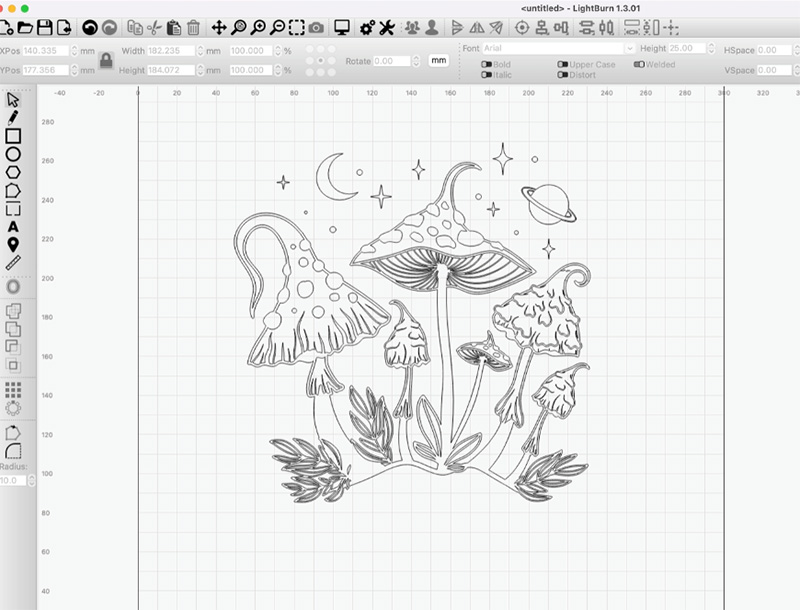
Now, that’s nice and all but honestly I’d really rather see the image filled on the grid itself so I don’t have to keep coming in and out of Preview.
Preview to me is something I check just once before I click that Start button to make sure everything is hunky dory.
So, how we get the images to display as filled?
It’s actually pretty simple and you only need to do this once.
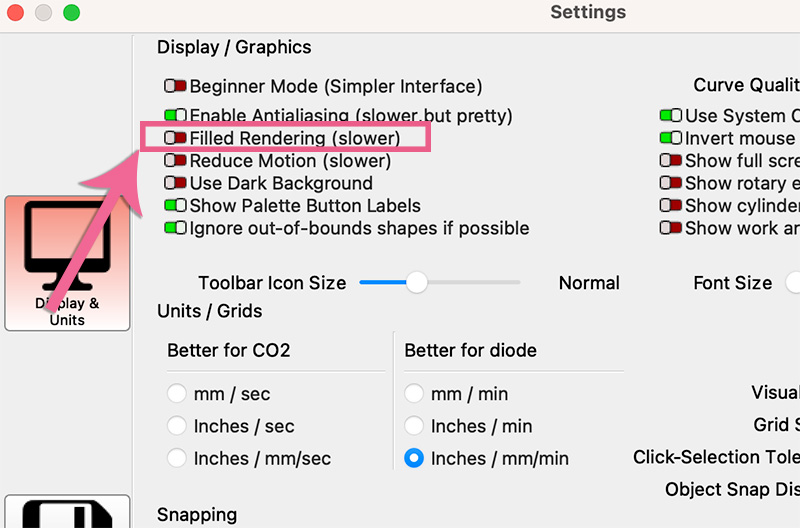
Start by clicking on the General Settings option from the tools menu – it’s the one that looks like a cog wheel.
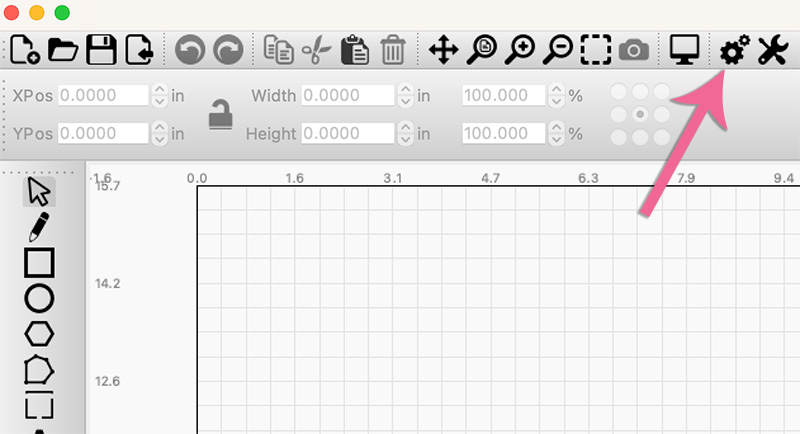
Then select ‘Field Rendering’ and click OK.
There is another way to do this by selecting another option:
- Click on Window from the top menu
- Select either Filled Coarse or Filled Smooth
This does exactly the same thing.
One final thing…
Now, if you have lot of stuff on your screen with lots of different layers, images, shapes…whatever, it might be worth you turning off this option before you commit to your engraving. This is because when you have multiple things on the screen some may be hidden under the filled image and could be sent to the laser unintentionally.
Leave a Reply